
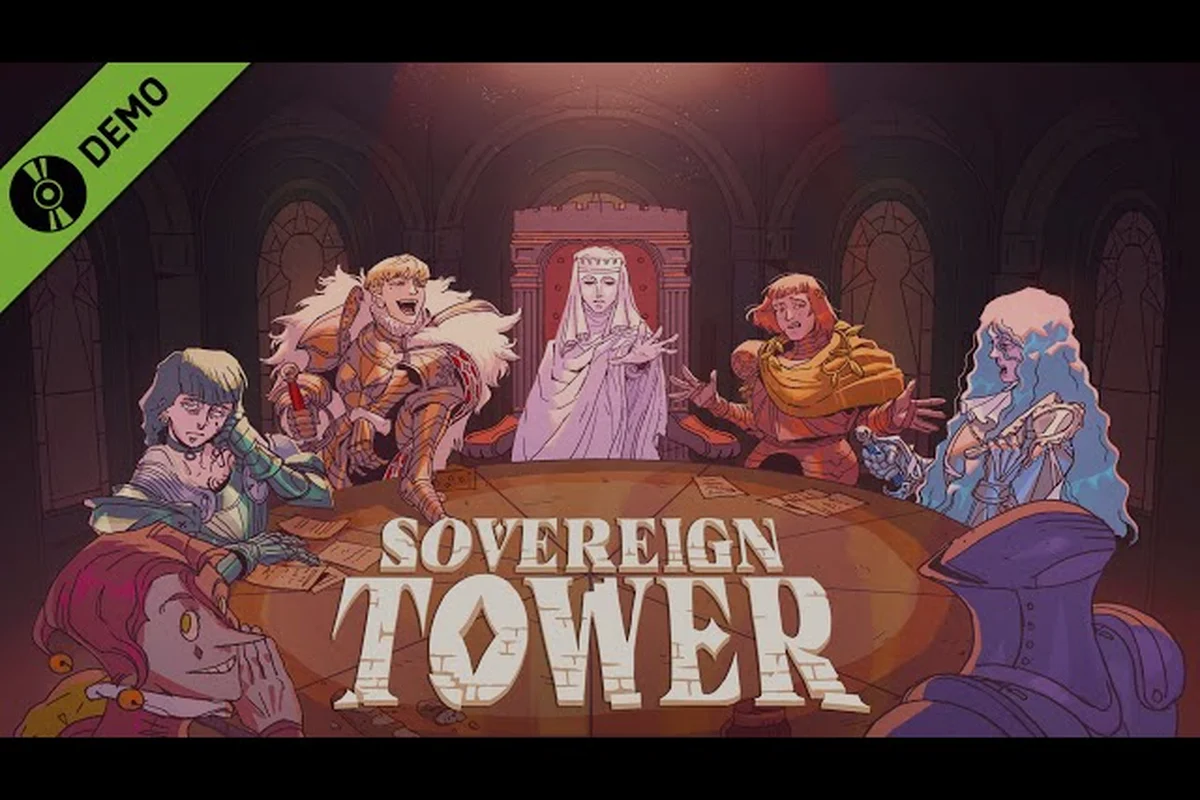
The Sovereign Tower round table guide is your key to surviving the ruthless Arthurian management sim where every quest assignment can mean the difference between prosperity and a dead knight. Because the game hides each quest's true requirements behind a veil of mystery, understanding how to match your Knights' six attributes to those hidden demands is the single most valuable skill you can develop. This guide breaks down the mechanics, the stat system, and the strategies that experienced players use to keep their tower thriving.
Understanding the Round Table Quest System
The Round Table is the heart of your operation in Sovereign Tower, where you dispatch Knights on quests that generate resources, reputation, and story progression. Unlike traditional RPGs where you simply pick the strongest character, this system demands that you read between the lines of each quest description and make educated guesses about what attributes will matter most.
Every Knight in your roster carries six core attributes that determine their effectiveness: The game's quest generation seems to favor variety, so a one-dimensional roster will eventually hit a wall where every available quest demands attributes you lack. Knight fatigue is an often-overlooked mechanic that significantly impacts quest success rates.
-
Strength
-
Agility
-
Charisma
-
Magic
-
Wit
-
Luck
Each quest has hidden requirements that align with one or more of these attributes, and matching the right Knight to the right quest is the core loop that drives your success. The catch is that the game never explicitly tells you which attributes a quest needs, which means you'll need to develop pattern recognition skills and rely on the quest text's subtle clues.
The system becomes even more complex when you factor in the audience loop, which IGN's hands-on preview confirmed affects your standing with four distinct factions: Nobility, People, Merchants, and Scholars. Your quest choices and their outcomes shift these faction meters, which in turn opens or closes future opportunities. This creates a web of interconnected decisions where short-term quest success might come at the cost of long-term faction relationships, and that trade-off is what separates competent players from true sovereigns. If you want to control the faction side of that trade-off, our court audience guide explains how every audience decision shifts your standing with each faction.
Knight Attributes and Quest Requirements
Before you can master quest assignments, you need to understand exactly what each attribute does and how it influences quest outcomes. The six attributes form the foundation of every decision you'll make at the Round Table, and knowing their nuances will dramatically improve your success rate.
| Attribute | Primary Function | Best For | Weak Against |
|---|---|---|---|
| Strength | Combat, physical challenges | Monster hunts, military campaigns | Political intrigue, riddles |
| Agility | Stealth, speed, precision | Scout missions, theft, escapes | Siege defense, debates |
| Charisma | Persuasion, leadership | Diplomatic missions, recruitment | Combat encounters, traps |
| Magic | Spellcasting, arcane knowledge | Cursed locations, magical artifacts | Anti-magic zones, physical brawls |
| Wit | Logic, puzzles, strategy | Riddles, tactical planning | Brute force scenarios |
| Luck | Random outcomes, gambling | Treasure hunts, risky ventures | Guaranteed combat scenarios |
The key insight from community testing is that most quests require a primary attribute and a secondary attribute, though some rare quests might demand three. A Knight with 10 Strength and 4 Agility will often succeed on a Strength-primary quest even if Agility is secondary, but the margin for error shrinks considerably. Players report that the game calculates success based on a weighted formula where the primary attribute carries roughly 60% of the weight, the secondary carries 30%, and the remaining 10% comes from your Knight's overall level and equipment.
Reading Quest Descriptions for Hidden Clues and Traits and Traits
The art of the Sovereign Tower round table guide lies in deciphering quest text. According to player experience shared across Steam Community discussions, quest descriptions contain deliberate linguistic cues that hint at required attributes. Words like "crush," "shatter," or "overpower" suggest Strength, while "charm," "negotiate," or "inspire" point toward Charisma. Terms such as "outwit," "deduce," or "unravel" indicate Wit, and references to "fortune," "gamble," or "chance" signal Luck-based challenges.
Experienced players recommend keeping a personal journal of quest descriptions and their outcomes, because the game's procedural generation means similar quest templates recur with different flavor text. Once you've identified that a "bandit camp clearance" quest consistently favors Agility and Strength, you can apply that knowledge whenever a similar quest appears. This pattern recognition approach, which the community has documented extensively, dramatically reduces the trial-and-error phase that plagues new players.
Knight Archetypes and Attribute Distributions
Your Knights arrive with distinct archetypes that shape their attribute spreads, and recognizing these patterns helps you build a balanced roster. IGN's preview highlighted several memorable archetypes including the goth knight, the wolf knight, and the childlike giant, each with unique stat distributions that suit different quest types.
-
The goth knight typically excels in Magic and Wit, making them ideal for arcane investigations and puzzles, though their low Charisma makes diplomatic missions risky.
-
The wolf knight brings high Agility and Strength, perfect for hunting and scouting tasks, but struggles with any quest requiring social grace or scholarly knowledge.
-
The childlike giant surprises players with high Strength and Luck, which makes them excellent for combat and treasure hunts, despite their below-average Wit and Charisma.
Building a roster that covers all six attributes across different Knights is essential, because you never know which quest types will appear next. The game's quest generation seems to favor variety, so a one-dimensional roster will eventually hit a wall where every available quest demands attributes you lack.
Critical Failure and Armor Death Mechanics
The stakes of poor quest assignments extend far beyond a simple failure notification, and understanding these consequences is crucial for any Sovereign Tower round table guide. When a Knight fails a quest badly enough, the game triggers a Critical Failure that can result in injury, death, or permanent stat loss, and these outcomes ripple through your entire operation.
The most punishing mechanic, confirmed by IGN's coverage, is armor score death. Each Knight has an armor score that degrades during quests, and if that score reaches zero, the Knight dies permanently. What makes this especially brutal is that your blacksmith can only repair one Knight's armor per cycle, which means you must prioritize which Knights get protection when multiple return from quests with damaged gear. This creates a resource management puzzle where you're constantly deciding between sending a Knight out with suboptimal armor or waiting a cycle to repair them first.
| Armor Condition | Quest Success Modifier | Repair Cost | Time to Repair |
|---|---|---|---|
| Full (100%) | +15% success chance | N/A | N/A |
| Damaged (50-99%) | +5% success chance | 20 gold | 1 cycle |
| Critical (1-49%) | -10% success chance | 45 gold | 1 cycle |
| Broken (0%) | -25% success chance | 60 gold | 2 cycles |
The Demon's Omniscience time rewind system, which PC Gamer praised as one of the best time travel mechanics in gaming, offers a safety net for catastrophic failures. When a Knight dies or a quest goes disastrously wrong, you can rewind time to just before the assignment and make a different choice. However, this resource is limited, and players report that overusing it triggers negative consequences that make the game even more difficult. The rewind system is best saved for truly devastating outcomes rather than minor inefficiencies.
Quest Assignment Strategy Framework for the Round Table
Developing a systematic approach to quest assignments will serve you better than relying on intuition alone. The community has refined several frameworks over time, and combining these approaches gives you the best chance of maintaining a thriving tower while minimizing casualties.
-
Attribute coverage assessment — before assigning any quest, review your available Knights and identify which attributes are overrepresented and which are lacking. If you have three Knights with high Strength but only one with decent Magic, you should prioritize Magic-based quests when they appear, because your Strength Knights will likely still succeed on combat missions later. This forward-thinking approach ensures you're never caught without the right Knight for a critical quest.
-
Faction alignment consideration — since your audience loop affects Nobility, People, Merchants, and Scholars, track which factions are currently unhappy and prioritize quests that boost their standing. A quest that succeeds but angers the Merchants might not be worth it if your treasury relies on their trade routes. Balancing short-term quest rewards against long-term faction stability is the mark of a skilled sovereign.
Priority Ranking for Quest Selection
Not all quests are created equal, and learning to rank them by importance helps you allocate your best Knights wisely. Based on community reports and gameplay testing, here's a priority framework that most successful players follow: Effective roster management means maintaining a rotation where Knights alternate between quests and rest cycles.
| Quest Tier | Examples | Reward Type | Recommended Approach |
|---|---|---|---|
| Tier 1 | Story quests, unique artifact quests | Permanent upgrades, new Knights | Always assign your best match |
| Tier 2 | High-value resource quests, faction quests | Large gold/resource bonuses | Assign strong match, accept some risk |
| Tier 3 | Standard resource quests | Moderate gold/resources | Assign adequate match, save top Knights |
| Tier 4 | Repetitive low-value quests | Minimal rewards | Assign weakest available Knight |
Tier 1 quests deserve your absolute best Knight with the closest attribute match, because the permanent rewards compound over time. Tier 2 quests are where most players make their mistakes, either overcommitting their best Knights when they should save them or undercommitting and risking failure on a high-value target. Tier 3 and Tier 4 quests are opportunities to train weaker Knights and build their experience, though you should still check attribute matches to avoid unnecessary Critical Failures.
Managing Knight Fatigue and Rotation Across Cycles Across Cycles
Knight fatigue is an often-overlooked mechanic that significantly impacts quest success rates. Each quest a Knight undertakes increases their fatigue, and fatigued Knights suffer success penalties that can turn a guaranteed win into a coin flip. The community has documented that a Knight at 50% fatigue suffers roughly a 10% success penalty, while a Knight at 100% fatigue faces a 25% penalty that makes most quests prohibitively risky.
Effective roster management means maintaining a rotation where Knights alternate between quests and rest cycles. While resting, Knights recover fatigue and can also have their armor repaired, making rest cycles doubly valuable. The challenge is that resting a Knight removes them from your available pool, so you need enough Knights to cover your quest volume while still allowing adequate recovery time. Early in the game, this often means accepting fewer simultaneous quests to keep your Knights fresh, which is a trade-off that pays off through higher success rates.
Advanced Techniques and Community Insights
Once you've mastered the basics, several advanced techniques can push your success rate even higher. These strategies come from experienced players who have documented their findings across Steam Community discussions and other player forums, and while some mechanics may shift with updates, the core principles remain sound.
The attribute synergy technique involves identifying Knights whose attribute combinations create unexpected strengths. A Knight with moderate Strength but high Luck might outperform a pure Strength Knight on combat quests, because the Luck component introduces a chance for critical successes that dramatically improve rewards. Similarly, a Knight with balanced Charisma and Wit can handle diplomatic quests that would stump a specialist, because these quests often require both social grace and logical reasoning.
Another advanced approach is quest chain planning. Some quests unlock follow-up quests that offer substantially better rewards than the original, and planning your assignments to complete these chains efficiently maximizes your long-term gains. Community reports suggest that completing a three-quest chain can yield rewards worth five times what the individual quests would provide separately, making chain completion a high-priority objective when you identify one.
The armor conservation strategy deserves special attention because armor death is permanent and devastating. Since the blacksmith can only repair one Knight's armor per cycle, you should prioritize repairs for Knights you plan to send on high-risk quests, while letting Knights on low-risk assignments wait. Additionally, some players report that certain quest types cause less armor damage than others, so you can use lower-armor Knights on those quests while saving your fully-armored Knights for combat-heavy assignments.
Common Mistakes to Avoid
Even experienced players make predictable errors, and recognizing these patterns can save you from unnecessary losses. The most common mistake is overcommitting your best Knight to every quest that appears, which leads to fatigue accumulation and eventual failure on a quest that should have been easy. Another frequent error is ignoring faction standing, where players chase short-term gold rewards and inadvertently cripple their relationship with a faction that controls essential resources.
Sending Knights without checking armor is perhaps the most preventable mistake, because a single quest can drop a Knight's armor from full to critical, setting up a death spiral if you don't catch it in time. Always check armor scores before assigning quests, and factor the blacksmith's single-repair limit into your planning. Finally, hoarding the time rewind is a subtle mistake, because players who never use the Demon's Omniscience lose the safety net entirely, while players who use it too liberally face escalating penalties. Finding the right balance comes from experience, but a good rule of thumb is to save rewinds for Knight deaths and irreplaceable resource losses.
Frequently Asked Questions
What is the best way to learn quest requirements in Sovereign Tower?
The most effective approach is to keep detailed notes on quest descriptions and their outcomes, because the game uses recurring quest templates with different flavor text. Once you recognize that a "bandit camp" quest consistently requires Agility and Strength, you can apply that knowledge to similar quests in the future, which dramatically reduces trial-and-error losses.
How does the armor death mechanic work exactly?
Each Knight has an armor score that degrades during quests, and if it reaches zero, the Knight dies permanently. The blacksmith can only repair one Knight's armor per cycle, so you must prioritize which Knights receive repairs. Always check armor levels before assigning quests, and consider resting Knights with critical armor rather than risking permanent death.
Can I recover from a Critical Failure?
Yes, the Demon's Omniscience time rewind system allows you to undo a failed quest and make a different choice, but this resource is limited and overuse triggers negative consequences. Save rewinds for Knight deaths and catastrophic resource losses rather than minor inefficiencies, and treat the system as an emergency tool rather than a regular strategy.
How many Knights should I keep in my roster?
You need enough Knights to cover your quest volume while allowing rest cycles for fatigue recovery and armor repair. Early in the game, five to seven Knights provide good coverage, but you should expand as your quest volume increases. A balanced roster covering all six attributes is more valuable than a larger roster with redundant strengths.
Does faction standing really matter for quest success?
Yes, the audience loop affects your standing with Nobility, People, Merchants, and Scholars, and these factions control essential resources and opportunities. Quest choices shift these meters, so a successful quest that angers a critical faction might not be worth the long-term cost. Track faction standing and prioritize quests that boost unhappy factions when possible.