
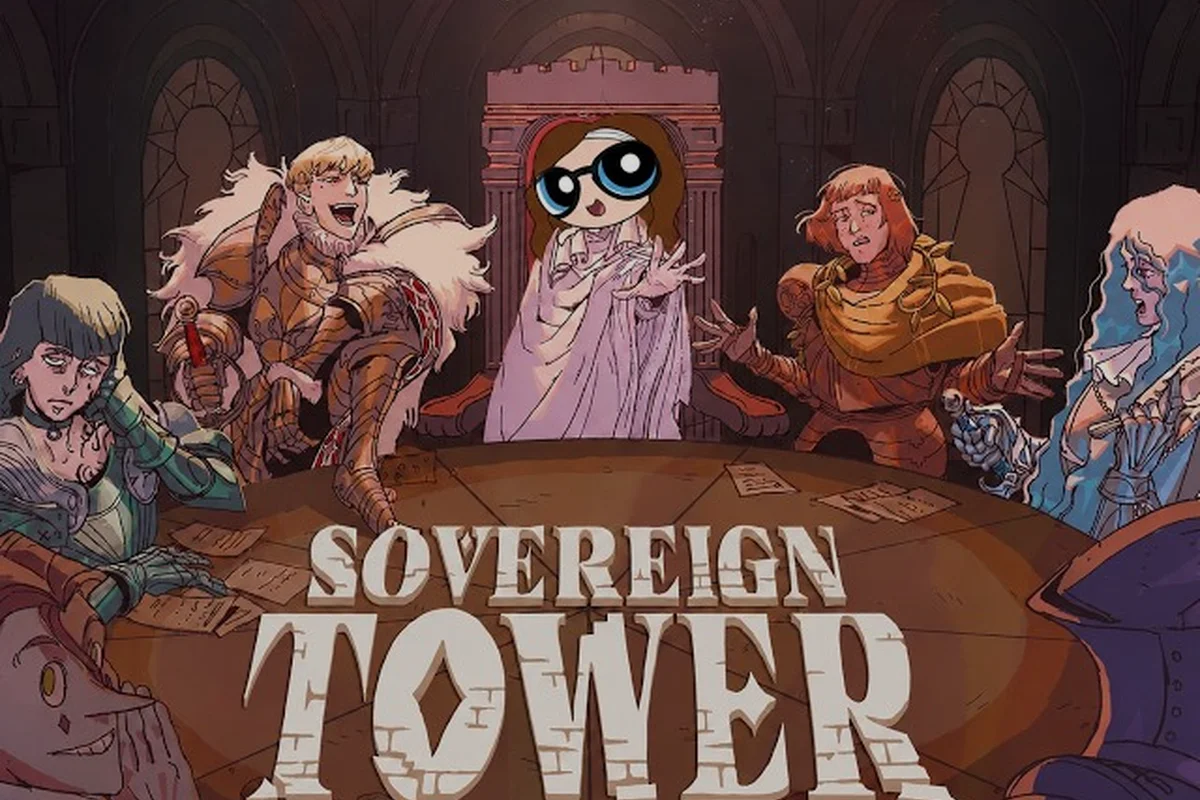
Every morning, your knights gather at the Round Table and present a fresh set of Sovereign Tower quests that will shape your reign. The decisions you make here ripple through every faction, every treasury ledger, and every life under your protection. This sovereign tower quest guide breaks down exactly how the assignment system works, what the game doesn't tell you, and how to keep your best warriors alive when the odds look grim.
The core loop sounds simple: read the quest requirements, match a knight's stats, send them out, and hope for the best. But beneath that surface sits a layered system of hidden modifiers, personality traits, and armor values that can turn a routine patrol into a funeral. Understanding these mechanics is the difference between a tower that thrives and a throne that collects replacement knights.
Sovereign Tower Quest Mechanics and Assignment Fundamentals
Before you send anyone through the gates, you need to understand how the Round Table evaluates your choices. Every quest card displays a set of base requirements, but the actual success calculation pulls from multiple sources that aren't always visible at first glance.
The game evaluates three core layers when you assign a knight to a quest: Every knight carries a personality trait that interacts with specific quest types. This creates a tension between sending your best knight on every quest and preserving them for the challenges that truly matter.
-
Revealed stat requirements — the numbers you see on the quest card, such as Strength 8 or Intellect 6
-
Hidden modifiers — faction standing, equipment quality, and current court approval that shift the effective difficulty
-
Personality trait interactions — certain traits amplify or sabotage specific quest types, which community testing has confirmed can swing outcomes by up to 15 percent
According to the official Steam page for Sovereign Tower, quest outcomes fall into three categories: Critical Success, Critical Failure, or Unexpected Outcome with secret rewards. That third category is where the real treasures hide, because unexpected outcomes often grant unique items or faction favor that standard completions never offer.
Your Armor Score acts as the health pool for each expedition. When it hits zero, the knight dies permanently — no revival, no second chances, no mercy. This makes quest assignment a genuine risk management exercise rather than a simple stat check.
Reading Quest Cards Like a Veteran
Each quest card contains more information than most new players realize. The visible stat requirements matter, but experienced players also watch for the quest's origin region, the requesting faction, and the time window before the quest expires. Even experienced players fall into predictable traps when managing the Round Table.
| Quest Card Element | What It Tells You | Why It Matters |
|---|---|---|
| Stat requirements | Minimum values for success | Determines which knights qualify |
| Faction icon | Which faction benefits | Affects reputation gains on completion |
| Time limit | Hours before expiry | Forces priority decisions each morning |
| Difficulty stars | 1-5 risk rating | Correlates with hidden modifier strength |
| Reward preview | Gold, items, or favor | Helps prioritize limited knight slots |
The difficulty stars deserve special attention because they correlate with hidden modifier strength. A three-star quest might look manageable on paper, but the hidden modifiers can push the effective difficulty much higher than the displayed requirements suggest. Each quest carries a base damage expectation, and hidden modifiers can increase that damage significantly.
The Role of Knight Stats in Quest Success
Your knights each carry four primary stats that determine their quest performance: Strength, Intellect, Charisma, and Dexterity. Matching these to quest requirements is the foundation of your sovereign tower quests strategy, but it's only the beginning. A knight with Strength 10 assigned to a Strength 8 quest will usually succeed, but the margin matters more than the raw number. The larger the gap between your knight's stat and the requirement, the more buffer you have against hidden modifiers that might penalize the attempt.
Hidden Modifiers That Change Quest Outcomes
The most frustrating part of the Round Table system is discovering that a "safe" quest turned into a disaster. Hidden modifiers are the culprit, and they explain why two identical quests can produce wildly different results depending on when and how you assign them.
Faction standing is the first hidden modifier most players encounter. If the Nobility faction holds a grudge against you, quests that favor noble interests carry an invisible penalty. The same applies to Merchants, Scholars, and the People — each faction's approval rating subtly adjusts quest difficulty in their domain.
Equipment quality plays a larger role than the game explicitly states. A knight wearing forged armor from your blacksmith annex gains a meaningful success bonus compared to one wearing standard gear. The Sovereign Tower preview from IGN confirms that armor-death is a core threat, which makes equipment investment a direct quest success strategy.
- Court approval adds another layer. When your morning audience goes well and faction representatives leave satisfied, quests assigned that day carry a small success bonus. When the audience ends in chaos, expect the opposite effect.
Personality Traits and Quest Synergy
Every knight carries a personality trait that interacts with specific quest types. The goth knight archetype, for example, performs better on quests involving the Mystic faction or the crypts, while the wolf knight excels at hunting and patrol missions. This is when you can start specializing assignments based on trait synergies and building faction favor through targeted quest completion.
| Personality Trait | Quest Type Bonus | Quest Type Penalty |
|---|---|---|
| Goth Knight | Mystic faction quests, crypt expeditions | Public ceremonies, noble galas |
| Wolf Knight | Patrols, hunting, border defense | Diplomatic missions, trade negotiations |
| Childlike Giant | Combat-heavy quests, escort missions | Intrigue, espionage, information gathering |
| Scholar | Research, artifact retrieval | Combat, siege warfare |
| Merchant | Trade routes, resource collection | Combat, military campaigns |
Community reports from the Steam discussion boards suggest that trait mismatches can reduce success chances by as much as 20 percent, which is enough to turn a comfortable margin into a coin flip. According to the official Steam page for Sovereign Tower, quest outcomes fall into three categories: Critical Success, Critical Failure, or Unexpected Outcome with secret rewards.
How Armor Score Affects Survival
Your knights' Armor Score functions as their expedition health bar. Each quest carries a base damage expectation, and hidden modifiers can increase that damage significantly. When armor hits zero, the knight dies permanently. This creates a tension between sending your best knight on every quest and preserving them for the challenges that truly matter. A knight with high stats but low armor is a liability on combat quests, while a moderately skilled knight with excellent armor can outlast them.
Step-by-Step Quest Assignment Strategy With Stat Checks
Now that you understand the mechanics, here's a practical framework for assigning Sovereign Tower quests that balances risk and reward across a full playthrough. Matching these to quest requirements is the foundation of your sovereign tower quests strategy, but it's only the beginning. Once you understand the basics, several advanced tactics can push your quest success rates even higher.
Step 1: Assess your knight roster each morning. Review who is available, their current armor values, and any injuries or status effects from previous quests. Never send a knight at half armor on a combat quest unless the reward justifies the risk.
-
Step 2: Prioritize quests by faction impact. Quests that boost your weakest faction relationship deserve priority, because faction balance drives the audience loop that fuels your entire economy.
-
Step 3: Match stats with margin. Look for knights whose stats exceed quest requirements by at least 2 points. This buffer absorbs hidden modifier penalties without dropping your success chance below acceptable levels.
-
Step 4: Check personality trait alignment. A knight with a matching trait bonus effectively gains several stat points worth of advantage. Use the table above to identify these synergies before assigning.
Step 5: Calculate armor risk. Estimate the damage a quest might deal based on difficulty stars and quest type. If the projected damage would leave the knight below 30 percent armor, consider whether the reward justifies the risk of permanent death.
- Step 6: Reserve your best knights for critical quests. Story quests and faction-defining missions deserve your strongest warriors. Save them for those moments rather than burning them on routine patrols.
Early Game Quest Priorities
During the first season, your priority should be establishing a stable economy and recruiting additional knights. Focus on quests that reward gold and resources, because they fuel the annex construction that unlocks better equipment and more quest options. The Blacksmith annex should be your first construction priority because it directly improves quest success through better armor and weapons. According to player experience, knights equipped with forged gear survive roughly twice as many quests before needing repairs.
Mid Game Quest Optimization
By the second season, you should have a roster of six to eight knights with diverse stat profiles. This is when you can start specializing assignments based on trait synergies and building faction favor through targeted quest completion. The Alchemy Room becomes valuable here because potions can boost quest success rates significantly. Stockpiling potions for difficult quests gives you a controllable modifier that offsets the randomness of hidden penalties.
Advanced Quest Tactics for Experienced Players
Once you understand the basics, several advanced tactics can push your quest success rates even higher. These strategies come from community testing and player reports, so treat them as proven techniques rather than official mechanics. The Alchemy Room becomes valuable here because potions can boost quest success rates significantly.
-
Tactic 1: Time rewind scouting. The Demon's Omniscience time rewind system lets you see what happens before committing. Use it to test risky quest assignments, then rewind and adjust your approach with full knowledge of the outcome.
-
Tactic 2: Faction quest stacking. When multiple quests favor the same faction, completing them in sequence creates a momentum bonus. The faction's approval climbs faster, which reduces hidden penalties on subsequent quests.
-
Tactic 3: Equipment rotation. Knights returning from quests need armor repairs. Rotate your roster so that freshly equipped knights handle the dangerous quests while damaged knights take safer assignments or rest.
Tactic 4: Unexpected outcome farming. Because unexpected outcomes can grant secret rewards, some players deliberately assign knights with moderate stat gaps to quests, hoping to trigger the hidden outcome category. This is risky but can yield unique items unavailable through normal progression.
| Strategy | Risk Level | Reward Potential | Best Used When |
|---|---|---|---|
| Safe assignment | Low | Consistent but modest | Early game, limited roster |
| Trait synergy focus | Medium | High | Mid game, diverse roster |
| Unexpected outcome farming | High | Very high | Late game, expendable knights |
| Time rewind scouting | None | Information advantage | Any point, limited uses |
Common Quest Assignment Mistakes That Cost Armor That Cost Armor
Even experienced players fall into predictable traps when managing the Round Table. Recognizing these mistakes can save you from losing knights and wasting opportunities. Every morning, your knights gather at the Round Table and present a fresh set of Sovereign Tower quests that will shape your reign.
-
Overextending your best knight. Sending your strongest warrior on every quest might feel efficient, but it leaves them vulnerable to death and prevents them from recovering armor between expeditions.
-
Ignoring faction alignment. Completing quests for factions that already love you while ignoring hostile factions creates imbalance. The audience loop punishes this by making court sessions increasingly difficult.
-
Skipping equipment upgrades. Gold spent on the blacksmith and alchemy room returns value through improved quest outcomes. Hoarding gold while your knights wear damaged armor is a false economy.
-
Forgetting personality traits. The trait system provides meaningful bonuses and penalties. Assigning a scholar to a combat quest because their stats technically qualify ignores the trait penalty that makes the quest far riskier than it appears.
Building a Sustainable Quest Rotation for Your Best Knights for Your Best Knights
The key to long-term success is building a rotation that keeps your knights alive while maximizing quest completion. Aim for a roster where each knight has a clear role: combat specialists, diplomatic envoys, research experts, and trade escorts. According to community data, players who maintain at least two knights per role type survive significantly longer than those who stack their roster with combat specialists. The variety lets you handle any quest type that appears while keeping individual knights rested and repaired.
For deeper analysis of which knights excel at which assignments, check our best knight for quest guide that ranks every recruit by quest performance. You can also review the round table guide for a comprehensive breakdown of the morning assignment phase.
Frequently Asked Questions
What happens when a knight dies on a quest?
When a knight's armor reaches zero during a quest, they die permanently. The game does not offer revival mechanics, so the loss is permanent. You will need to recruit replacements through court audiences or story events, which means rebuilding their stats and equipment from scratch.
Can I cancel a quest after assigning a knight?
No, once you confirm an assignment at the Round Table, the quest is locked in. The knight departs immediately and you cannot recall them. This makes careful assessment before assignment essential, especially for high-difficulty quests where the outcome is uncertain.
How do unexpected outcomes differ from critical successes?
Unexpected outcomes occur when the quest succeeds through an unconventional path, often triggered by specific personality traits or stat combinations. They grant secret rewards like unique items, faction favor, or hidden story progression that standard successes never provide. Critical successes simply complete the quest with maximum standard rewards.
Does the time rewind system help with quests?
Yes, the Demon's Omniscience time rewind lets you rewind to a previous point and retry quest assignments with full knowledge of what happened. This is invaluable for testing risky assignments or exploring unexpected outcome conditions without permanent consequences. Matching these to quest requirements is the foundation of your sovereign tower quests strategy, but it's only the beginning.
What is the best way to improve quest success rates?
The most reliable improvements come from three sources: matching knight stats with at least 2 points of margin, aligning personality traits with quest types, and equipping knights with forged armor from the blacksmith. Potions from the alchemy room provide an additional controllable boost for difficult quests.