
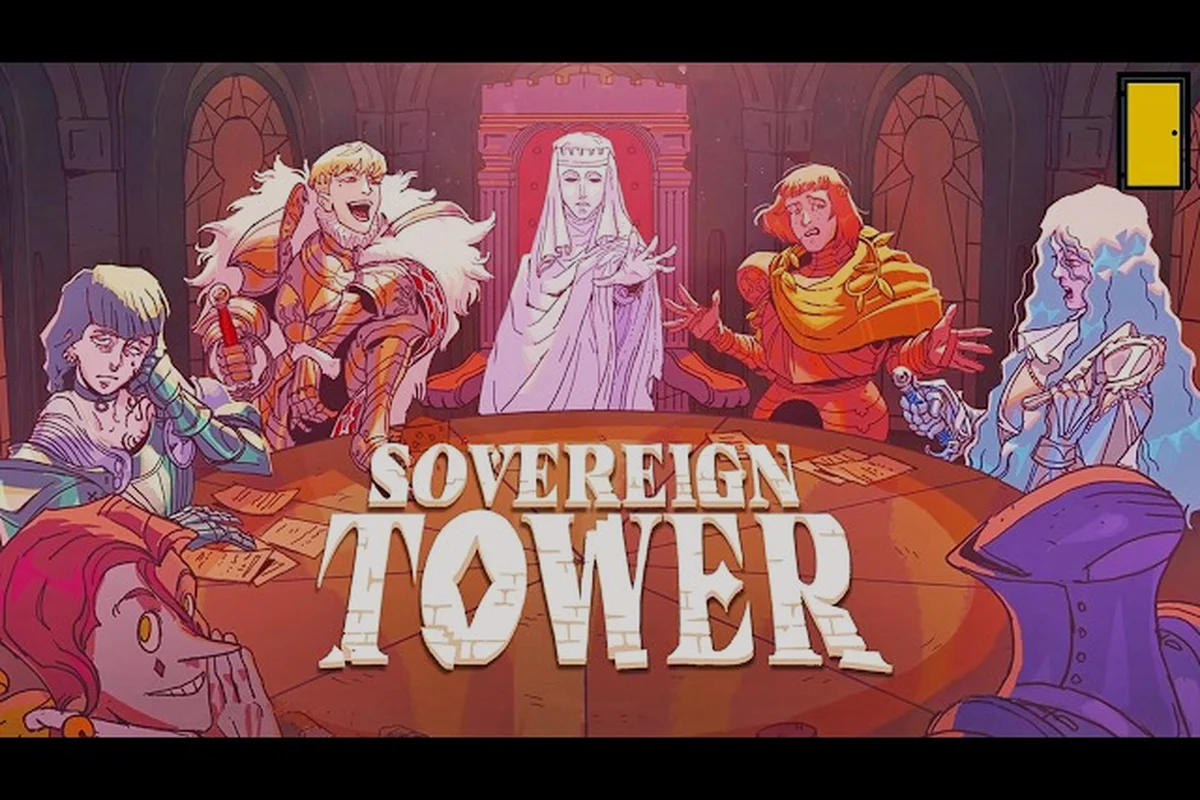
Sending a Knight out on a mission in Sovereign Tower feels like rolling dice until you understand the math underneath. Success comes down to a simple formula: the assigned Knight's stats versus the quest's requirements, modified by personality traits and equipped gear. Get this sovereign tower quest success guide right, and you'll stop wasting your strongest warriors on missions they can't win.
The stakes are higher than most management games because armor repair is brutally limited — your blacksmith can only fix one piece per cycle. That means every failed quest risks permanent armor loss, which cascades into weaker Knights and more failures. Understanding how the quest system evaluates your Knights isn't optional; it's the difference between a thriving Round Table and a graveyard of broken equipment.
The Core Quest Success Formula
Every quest in Sovereign Tower evaluates your Knight against a set of hidden requirements, and the game compares their stats, personality trait modifiers, and equipped gear to determine the outcome. Community testing from the Steam discussions confirms that this isn't a random roll — it's a calculated check that you can optimize before sending anyone out.
The formula works like this: each quest has stat thresholds, and your Knight's effective stats (base stats plus gear bonuses plus trait modifiers) must meet or exceed those thresholds. Fail to meet even one threshold, and your success chance drops significantly. Exceed all thresholds, and you'll see consistent wins.
Key factors that influence quest success:
-
Base stats — Strength, Agility, Intellect, and Endurance form the foundation of every check
-
Personality traits — Each Knight has traits that add or subtract from specific stats
-
Equipped gear — Weapons and armor provide flat bonuses that can push you over thresholds
-
Armor condition — Damaged armor reduces its stat contribution, making repair timing critical
-
Potions — Prepared potions can temporarily boost stats before a mission
The quest difficulty rating shown in the mission select screen gives you a rough idea of the thresholds, but experienced players report that the rating doesn't tell the whole story. A "Medium" quest might require high Strength but barely test Agility, while another "Medium" quest flips those requirements. This is why reading the quest description carefully matters more than trusting the color-coded difficulty.
| Stat | Primary Use | Common Quest Requirements |
|---|---|---|
| Strength | Combat missions, brute force objectives | 8-12 for early quests |
| Agility | Stealth, scouting, trap avoidance | 7-11 for early quests |
| Intellect | Puzzles, diplomacy, research | 6-10 for early quests |
| Endurance | Long expeditions, survival checks | 8-12 for early quests |
Because the game doesn't show you the exact thresholds, you'll need to learn them through trial and error or by consulting the comprehensive quest guide that breaks down each mission type in detail. Our best Knight for quest guide breaks down each archetype's ideal mission types in detail.
Matching Knights to Quest Requirements
The single biggest mistake new players make is sending their highest-level Knight on every mission regardless of the quest type. A Knight with massive Strength but low Agility will struggle on scouting missions, even if their overall level is higher than an Agility-focused Knight. The game rewards specialization, not raw power.
Knight Archetypes and Their Strengths
Each Knight in Sovereign Tower falls into an archetype that shapes their stat distribution. The goth knight excels at Intellect-based tasks with a dark aesthetic, while the wolf knight brings high Agility and combat prowess. The childlike giant archetype offers exceptional Strength and Endurance but often lacks the finesse for delicate missions.
When you receive a new Knight, check their personality traits before assigning them to anything. Traits can swing stats by 2-3 points, which is often enough to cross a quest threshold. A Knight with the "Brave" trait gains a Strength bonus, making them ideal for combat missions, while "Cautious" adds to Agility and reduces risk on scouting tasks.
How to evaluate your roster:
-
Review each Knight's stat block before every quest cycle
-
Match the quest's primary requirement to your Knight's highest stat
-
Check trait modifiers — a 2-point bonus can be the difference between success and failure
-
Consider the quest's secondary requirements — a mission might need Strength AND Endurance, not just one
-
Don't send your best Knight every time — save them for high-risk quests with valuable rewards
The quest outcomes vary based on how well your Knight matches the requirements, and a perfect match can trigger critical successes that grant bonus rewards. Our critical success guide explains how to consistently trigger these enhanced outcomes. Our best Knight for quest guide breaks down each archetype's ideal mission types in detail.
Building a Balanced Roster
Since armor repair is limited to one piece per cycle, you need multiple viable Knights rather than one super-Knight. The blacksmith bottleneck means your best Knight can only be re-equipped once per cycle, so having backups with decent gear is essential for maintaining quest output.
| Knight Archetype | Best For | Weak Against |
|---|---|---|
| Goth Knight | Intellect quests, diplomacy | Combat-heavy missions |
| Wolf Knight | Agility quests, scouting | Puzzle-solving missions |
| Childlike Giant | Strength quests, combat | Stealth and finesse tasks |
| Scholar Knight | Research, lore gathering | Physical challenges |
| Ranger Knight | Endurance, long expeditions | Quick reflex checks |
Aim for at least three well-rounded Knights before pushing into harder quest areas. This gives you coverage across the main stat categories while keeping your strongest Knight fresh for the toughest missions. Before assigning a Knight, run a quick mental calculation: what's the worst-case outcome if this quest fails?
Gear, Armor, and the Repair Bottleneck
Equipment in Sovereign Tower provides flat stat bonuses that directly contribute to quest success. A good weapon might add +2 Strength, while quality armor adds +1 to multiple stats. The catch is that armor takes damage during quests, and each piece reduces its effectiveness as it degrades.
The repair system is intentionally restrictive: the blacksmith can only fix one piece of armor per cycle. This forces you to prioritize which Knight gets repaired and which missions you run. Community reports indicate that players who ignore this bottleneck end up with a roster of Knights wearing broken armor, which tanks their quest success rate across the board.
Armor management priorities:
-
Repair your primary Knight's armor first — the one you send on high-risk quests
-
Track armor condition before every quest — damaged armor reduces stat bonuses
-
Keep spare armor pieces for Knights you can't repair this cycle
-
Use potions as a stopgap when armor is too damaged to repair immediately
-
Rotate Knights so no single Knight takes repeated armor damage
Potions are the safety net that keeps your quest pipeline running when repairs fall behind. A Strength potion can compensate for a damaged chest piece, while an Agility potion might let your wolf knight handle a scouting mission they'd otherwise fail. Stockpile potions during peaceful cycles so you have them when the quest board fills with high-reward missions.
| Gear Slot | Typical Bonus | Repair Priority |
|---|---|---|
| Weapon | +2-3 to primary combat stat | High — affects all combat |
| Chest Armor | +1-2 to multiple stats | High — biggest defensive value |
| Helmet | +1-2 to Intellect or Perception | Medium — situational |
| Boots | +1-2 to Agility or Endurance | Medium — movement missions |
| Accessory | +1 to a specific stat | Low — small bonus |
The round table management aspect of the game becomes critical here because you're juggling multiple Knights, their gear, and the repair queue simultaneously. Our round table guide covers the strategic layer of keeping your roster mission-ready. Our critical success guide explains how to consistently trigger these enhanced outcomes.
Quest Selection and Risk Assessment
Not all quests are worth sending your Knights on, and knowing when to decline is part of the sovereign tower quest success guide. The quest board refreshes each cycle, offering a mix of difficulties and rewards. High-reward quests often come with high risk, and sending an underprepared Knight wastes both their time and your armor.
Reading Quest Descriptions for Stat Requirements for Stat Requirements
Every quest description contains clues about its requirements if you know what to look for. A mission about "scouting the northern woods" likely tests Agility and Endurance. A quest about "negotiating with the merchant guild" probably requires Intellect and social traits. The game's writing is consistent, so learning to parse these descriptions dramatically improves your success rate.
Red flags that signal high risk:
-
Vague descriptions that don't specify the challenge type
-
Unusually high rewards for the displayed difficulty
-
Multiple requirement hints — a quest that mentions both combat and puzzles
-
Time-sensitive missions that might have hidden penalties for slow completion
-
Quests in new regions where you haven't scouted the difficulty curve
The difficulty rating (Easy/Medium/Hard) gives a baseline, but experienced players recommend treating it as a minimum rather than an exact measure. A "Medium" quest with high rewards might actually be Hard-tier in disguise, especially if it's in a region you haven't explored.
Risk vs. Reward Calculation
Before assigning a Knight, run a quick mental calculation: what's the worst-case outcome if this quest fails? If the reward is valuable but the Knight might lose armor, is it worth the risk? Sometimes declining a quest is the smartest play, especially when your repair queue is already backed up.
| Quest Reward | Risk Level | Recommended Approach |
|---|---|---|
| Gold only | Low | Send any capable Knight |
| Gear or equipment | Medium | Send your best match |
| Rare materials | Medium-High | Use potions to boost stats |
| Story progression | High | Send your strongest Knight |
| Reputation boost | Variable | Check faction requirements |
The Demon's Omniscience time rewind system gives you one safety net — you can rewind time to undo a disastrous quest outcome. PC Gamer's preview praised this as one of the best time travel systems in recent games, but it's a limited resource. Save it for catastrophic failures, not minor setbacks.
Advanced Strategies for Consistent Wins
Once you've mastered the basics, these advanced techniques will push your success rate from "sometimes winning" to "consistently clearing the quest board." The key is layering multiple advantages so that even a poor roll can't sink your mission. Get this sovereign tower quest success guide right, and you'll stop wasting your strongest warriors on missions they can't win.
Stack stat bonuses by combining gear, traits, and potions. A Knight with a +2 Strength trait, a +2 weapon, and a Strength potion gains +5 effective Strength over their base stat. That's often enough to cross two difficulty tiers on combat missions.
- Track quest patterns across cycles. The quest board follows loose patterns, and certain quests appear more frequently after specific events. Keeping notes on which quests you've succeeded and failed at helps you predict what's coming next.
Invest in your blacksmith early, even though they can only repair one piece per cycle. Upgraded blacksmiths might repair faster or restore more durability, which reduces the bottleneck over time. Community testing suggests this is one of the highest-value investments in the early game.
Use the audience loop to your advantage. The Nobility, People, Merchants, and Scholars factions react to your quest outcomes, and maintaining good standing with them unlocks better quests and rewards. A failed quest hurts your reputation, so the success strategies above directly feed into your long-term faction standing.
Plan for armor loss before it happens. Keep a reserve of basic armor pieces for emergencies, and don't be afraid to send Knights out in slightly damaged gear if the quest is easy enough. Wasting a repair on a trivial quest is a common mistake that leaves you vulnerable when a hard quest appears.
The best Knight for a quest isn't always your highest-level one — it's the Knight whose stat profile matches the quest's requirements most closely. Our best Knight for quest guide breaks down each archetype's ideal mission types in detail. The single biggest mistake new players make is sending their highest-level Knight on every mission regardless of the quest type.
Frequently Asked Questions
What is the most important factor in Sovereign Tower quest success?
The stat match between your Knight and the quest requirements matters more than raw level or gear quality. A Knight with the right stats, even at a lower level, will outperform a mismatched higher-level Knight. Personality traits and potions can push a borderline match into a reliable win.
How often can I repair armor in Sovereign Tower?
The blacksmith repairs one piece of armor per cycle, which is the hard limit on your repair capacity. This means you need to prioritize which Knight gets repaired and plan your quest assignments around that constraint. Stockpile potions and spare armor to cover gaps.
Can I rewind time to undo a failed quest?
Yes, the Demon's Omniscience system lets you rewind time to undo a disastrous outcome, but it's a limited resource. PC Gamer's preview called it one of the best time travel systems in recent games. Save it for catastrophic failures, not minor setbacks.
Do personality traits really affect quest outcomes?
Absolutely — traits can add or subtract 2-3 points from specific stats, which is often enough to cross a quest threshold. A Knight with a matching trait bonus will succeed more consistently than one without, even if their base stats are similar.
Should I send my strongest Knight on every quest?
No — save your strongest Knight for high-risk quests with valuable rewards. Sending them on trivial missions wastes their potential and risks armor damage that could have been avoided. Build a roster of specialized Knights and match them to quest types.