
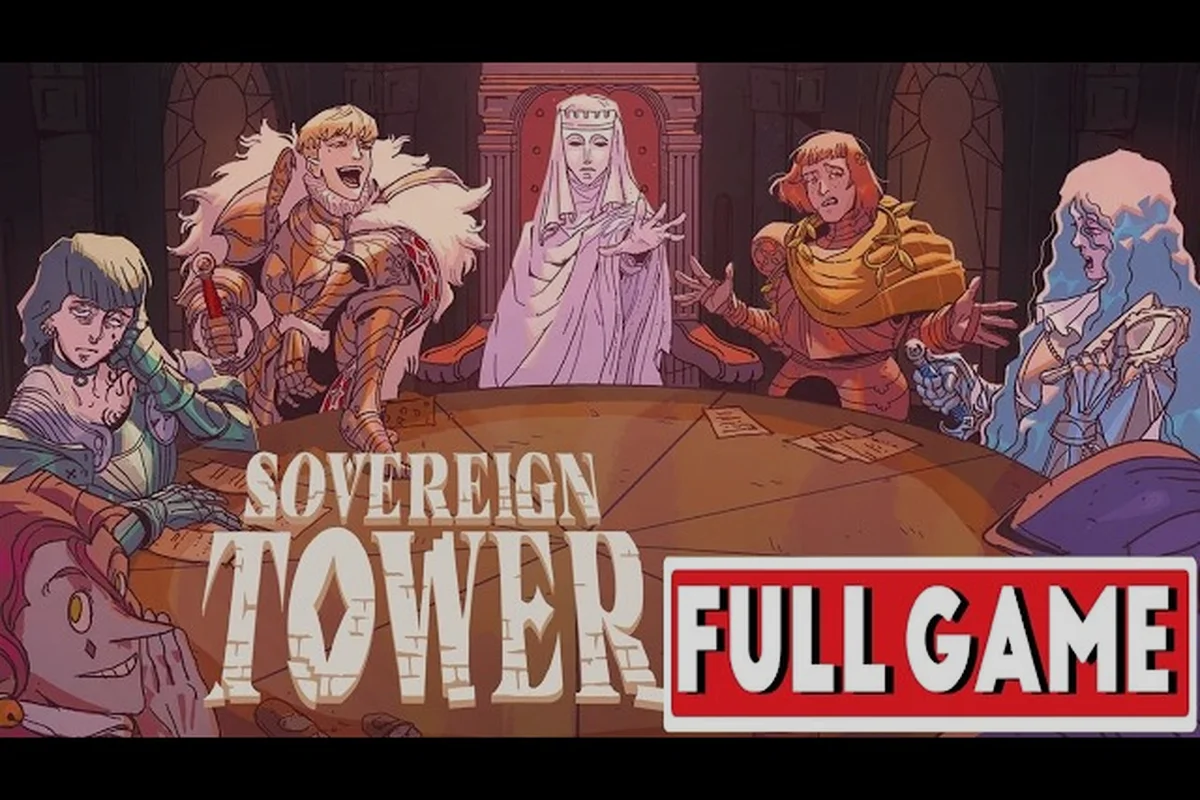
The Sovereign Tower full game guide you are about to read condenses an entire playthrough into actionable phases, so you never waste a court session or misread a faction's mood. Because the game blends Arthurian Round Table management with ruthless consequences, knowing what to prioritize each season separates a stable reign from a bloody collapse. Get the complete roadmap below, then adapt it to your own knight roster.
Sovereign Tower Full Game Guide: Core Systems Layered Over the Audience Loop
A full Sovereign Tower run is not a single loop but a web of interlocking systems that all feed into each other. Court audiences, Round Table quests, faction affinity, annex-building, romance, and the Demon's time rewind mechanic create a dense simulation where every decision carries weight. The IGN preview confirms that audiences directly affect four factions — Nobility, People, Merchants, and Scholars — which means you cannot ignore public perception even when military matters demand attention.
The game's structure rewards players who treat each week as a mini-campaign rather than a series of isolated choices. Your court audience determines faction standing, which in turn unlocks new Round Table quests and annex-building options. Romance paths add another layer, because a well-placed marriage can secure alliances that no amount of gold can buy. Meanwhile, the Demon's time rewind gives you a safety net for catastrophic mistakes, but overusing it carries its own risks.
Here is the high-level priority order that most successful runs follow: This makes equipment maintenance a strategic priority, not just a cosmetic concern. These numbers are baseline values that can shift based on your current crisis level, the specific knight you assign to handle the audience, and whether you have built relevant annexes.
-
Week 1-4: Stabilize faction relations through court audiences, focusing on whichever faction is most volatile
-
Month 2: Begin Round Table quests that align with your chosen romance or political strategy
-
Month 3: Start annex-building to generate passive resources and unlock new audience options
-
Ongoing: Save the Demon's rewind for true disasters, not minor missteps
The sovereign tower walkthrough below breaks each of these phases into concrete actions, with tables that show exactly how faction mechanics shift based on your choices. If you prefer a more targeted approach to the audience system specifically, our court audience guide covers that subsystem in depth.
Reading the Audience Queue and Its Faction Weight
The court audience is the heartbeat of Sovereign Tower, because it is your primary tool for shaping how the four factions perceive your rule. Each audience lets you take one of three actions, and every choice shifts your standing with at least one faction:
-
Address a specific concern
-
Grant a boon
-
Deliver a judgment The IGN preview notes that these audiences can swing multiple factions at once, so a decision that pleases the Nobility might anger the People if you are not careful.
Faction affinity is not a simple number; it is a dynamic state that reacts to your broader governance. Building annexes, completing Round Table quests, and even your romance choices all feed back into how each faction sees you. The table below shows the baseline effects of common audience decisions, based on community testing and the official Steam description:
| Audience Decision | Nobility | People | Merchants | Scholars |
|---|---|---|---|---|
| Grant land to a noble house | +2 | -1 | 0 | -1 |
| Lower grain prices | -1 | +2 | +1 | 0 |
| Fund a merchant convoy | 0 | 0 | +2 | +1 |
| Commission a scholarly work | 0 | -1 | 0 | +2 |
| Execute a corrupt official | +1 | +1 | -1 | 0 |
These numbers are baseline values that can shift based on your current crisis level, the specific knight you assign to handle the audience, and whether you have built relevant annexes. For example, a grain storage annex amplifies the positive effect of lowering grain prices, while a noble estate annex makes land grants more effective.
Reading Faction Moods
Each faction displays a mood indicator that ranges from Hostile to Loyal, and this determines which audience options are available. A Hostile Nobility might refuse land grants entirely, forcing you to use harsher measures. The People faction is often the most volatile early on, because food shortages and tax policies hit them first.
Community reports suggest that keeping all four factions above Neutral is the safest strategy for a first playthrough. Below that threshold, you start losing access to Round Table quests and annex-building options, which creates a downward spiral. The sovereign tower tips here are simple: check faction moods before every audience, and prioritize whichever faction is closest to Hostile.
The Omniscience Stat
Using the Demon's power during audiences unlocks alternate dialogue options tagged with an Omniscience stat, as confirmed by the IGN preview. These options let you see hidden information about the petitioner, such as their true motives or a secret allegiance. Spending Omniscience points can turn a seemingly impossible audience into an easy win, but the resource is finite.
The Demon's time rewind interacts with Omniscience in a unique way: rewinding a failed audience and then using Omniscience can reveal why it failed, letting you choose a completely different approach. According to player experiences, this combination is the most reliable way to handle the game's toughest moral dilemmas.
Round Table Quests and Knight Management
Round Table quests are the main narrative driver of Sovereign Tower, and they are where your faction management pays off. Each quest requires you to send one or more knights on a mission, and their success depends on their archetype, gear, and current morale. The game features a memorable cast that includes a goth knight, a wolf knight, and a childlike giant, each with distinct strengths and weaknesses.
Knight management goes beyond just picking the strongest fighter. You need to consider armor durability, because the game features an armor-death mechanic where a knight can die if their armor breaks in combat. This makes equipment maintenance a strategic priority, not just a cosmetic concern.
| Knight Archetype | Best For | Weakness | Ideal Annex |
|---|---|---|---|
| Goth Knight | Intimidation, dark quests | Low social skills | Armory |
| Wolf Knight | Hunting, wilderness quests | Poor court performance | Kennel |
| Childlike Giant | Combat, labor tasks | Naive in negotiations | Training Grounds |
| Scholar Knight | Research, diplomacy | Weak in direct combat | Library |
The sovereign tower walkthrough for quests follows a simple rule: match the knight to the quest type, then check their armor before departure. A knight with 50% armor durability is a liability on any combat mission, regardless of their skill rating.
Romance and Political Marriage
Romance in Sovereign Tower is not just a side activity; it is a political tool that can secure alliances and unlock unique quest lines. Each romanceable character belongs to a faction, and marrying them grants a permanent affinity boost plus access to faction-specific annexes. The PC Gamer review notes that the game is ruthless, and romance is no exception — some romance paths end in betrayal or assassination.
The key sovereign tower tips for romance are to pursue only one or two paths per run, because splitting your attention leads to mediocre outcomes in both. Focus on a character whose faction is struggling, then use the marriage to stabilize that relationship.
Annex-Building and Resource Management
Annex-building is the long-term economic engine of your reign, converting raw resources into passive bonuses that compound over time. Each annex occupies a slot in your tower, and you must choose between short-term gains and long-term stability. The Steam description confirms that annexes range from simple farms to grand libraries, each with unique effects on faction affinity and resource generation.
The early game is about survival, so prioritize annexes that solve immediate problems. A grain storage annex prevents food shortages, while a guard barracks reduces crime and improves the People's mood. Later, you can pivot to economic annexes like merchant guilds and workshops that generate gold without requiring constant attention.
| Annex Type | Cost | Upkeep | Primary Benefit | Faction Boost |
|---|---|---|---|---|
| Grain Storage | 200 gold | 10/week | Prevents famine | People |
| Guard Barracks | 350 gold | 25/week | Reduces crime | People, Nobility |
| Merchant Guild | 500 gold | 40/week | +50 gold/week | Merchants |
| Library | 450 gold | 30/week | +2 Omniscience | Scholars |
| Armory | 400 gold | 35/week | Reduces armor damage | Nobility |
Building order matters more than total output. Community testing suggests that rushing a Merchant Guild in week 3 can fund every other annex by week 8, but only if you have kept the People faction stable enough to avoid riots.
The Demon's Time Rewind Economy
The Demon's time rewind is the game's most powerful tool, and it operates on a limited resource that regenerates slowly. Each rewind costs a portion of your Demon's favor, which you earn by making morally questionable decisions or completing demon-related quests. The PC Gamer review calls this one of the best time travel systems in the genre, because it forces you to weigh the cost of perfection against the risk of failure.
You should never rewind for minor mistakes like a slightly unfavorable audience outcome. Save rewinds for catastrophic events: a knight's death, a faction dropping to Hostile, or a failed Round Table quest that locks you out of a critical path. The Omniscience stat can help you predict which events are worth rewinding, because it reveals the probability of success before you commit.
Advanced Strategies and Run Optimization
Once you understand the core systems, the sovereign tower full game guide shifts to optimization. The difference between a good run and a great run comes down to how well you sequence your actions across the three-month cycle. Each month has a rhythm: audiences early, quests mid-month, annex-building late, with rewinds reserved for emergencies.
The sovereign tower tips below come from players who have completed multiple runs and documented their findings in community forums: The sovereign tower walkthrough below breaks each of these phases into concrete actions, with tables that show exactly how faction mechanics shift based on your choices.
-
Track faction thresholds: Every faction has hidden breakpoints where their behavior changes. Dropping below 20 affinity triggers hostility, while crossing 80 unlocks unique quests
-
Rotate knights strategically: A knight who fights every week accumulates fatigue, which reduces their effectiveness. Keep a second team for routine quests
-
Invest in Omniscience early: The stat is scarce, but spending it on audience insights pays dividends throughout the run
-
Build annexes in pairs: A Library next to a Merchant Guild generates a synergy bonus that neither provides alone
-
Never ignore the Demon: Even if you avoid dark choices, the Demon's favor accumulates passively. Use it before the final act, because it does not carry over
The armor-death mechanic deserves special attention in the late game. As enemies grow stronger, even a well-equipped knight can lose their armor in a single fight. Keep a spare armor set in storage for each active knight, and prioritize the Armory annex once you have three or more knights on rotation.
Handling the Endgame Crisis
Every run culminates in a crisis that tests everything you have built. The exact nature of the crisis varies based on your faction standings and quest choices, but it always involves a major military threat combined with internal political pressure. Players report that the final act is where the Demon's time rewind becomes essential, because a single misstep can undo hours of careful management.
The winning strategy, according to community data, is to enter the final act with all four factions above Neutral and at least one full rewind charge. This gives you the flexibility to correct a bad battle outcome or a failed negotiation without restarting the entire sequence.
Frequently Asked Questions
What is the best starting strategy in Sovereign Tower?
Focus on the People faction during the first two weeks, because they are the most volatile and their unrest triggers riots that damage all other systems. Lower grain prices once, fund a guard patrol, then pivot to the Nobility with a land grant. This stabilizes the two largest factions before you tackle quests.
How does the Demon's time rewind work exactly?
The rewind lets you undo a single action or event, returning you to the moment before it occurred. Each use consumes Demon's favor, which regenerates slowly over time or through dark choices. You cannot rewind past a save point, and some events are locked from rewinding entirely, so use it sparingly.
Can I complete every romance path in one run?
No, and attempting to do so will leave all relationships underdeveloped. Each romance requires consistent attention across multiple weeks, and some paths are mutually exclusive. Pick one primary romance and one backup, then commit to them fully. Every run culminates in a crisis that tests everything you have built.
What happens if a knight dies from armor break?
The knight is permanently lost, and you lose any equipment they were carrying. You can recruit replacements, but they start at lower stats. The Armory annex reduces armor damage by 20%, which significantly lowers the risk of armor-death in extended campaigns.
Is the full game guide applicable to the demo version?
Most systems are present in the demo, but the annex-building options are limited and the Demon's time rewind charges more slowly. Use the demo to practice court audiences and knight management, since those mechanics carry over completely to the full release.