
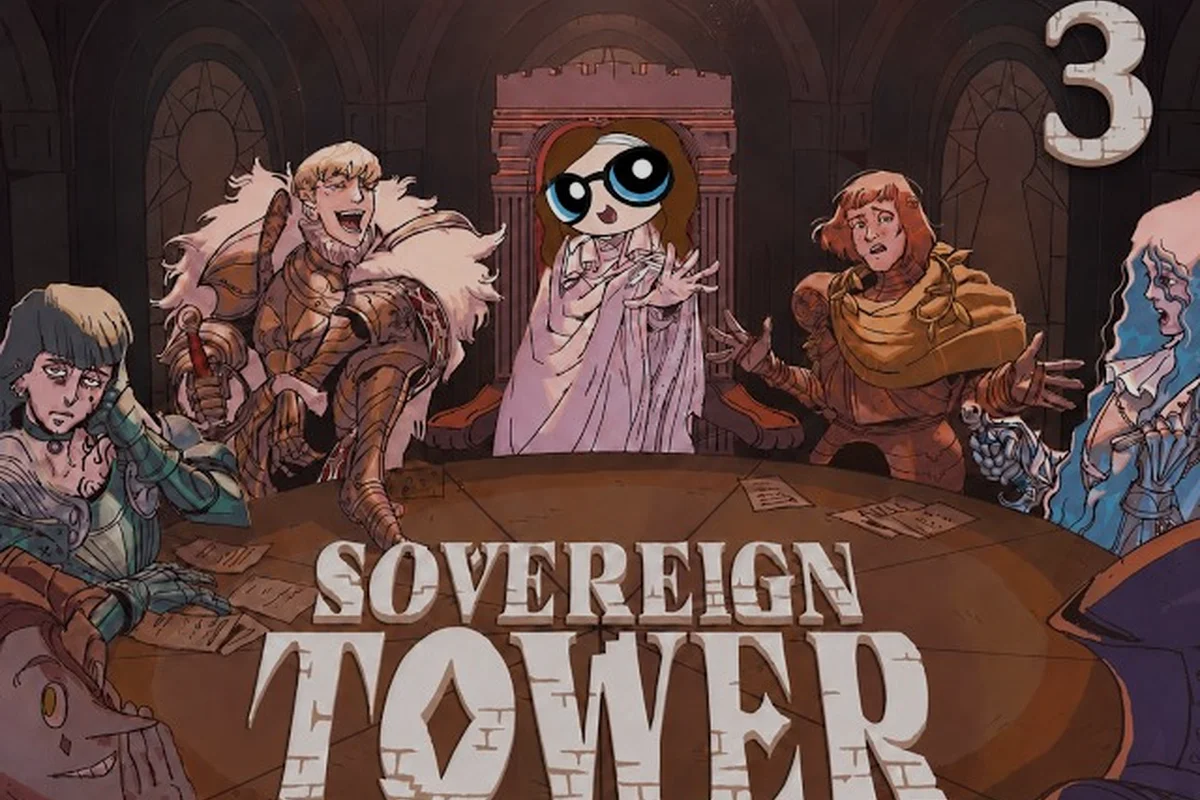
Recruiting knights in Sovereign Tower isn't about scrolling through a roster — it's about reading the room, managing expectations, and knowing when to say yes. According to IGN's hands-on preview, new recruits appear when "weirdos show up to need things or join your kingdom," which means every audience petition is a potential recruitment opportunity. Getting sovereign tower knight recruitment right transforms your court from a collection of strangers into a machine that handles quests, faction demands, and crises without breaking a sweat.
The catch? Knights can leave if they're unsatisfied, die permanently when their armor breaks, and some of the best recruits only appear under specific conditions. This guide breaks down the entire recruitment pipeline — from preparing your court to locking in loyalty — so you stop losing good people to preventable mistakes.
How Sovereign Tower Knight Recruitment Actually Works Behind the Curtain
Recruitment in Sovereign Tower flows through your morning court audiences, where petitioners approach your throne with requests, problems, or offers of service. The system feels organic because it's tied directly to your faction standing and the state of your tower — the more you invest in certain buildings and reputation, the more interesting candidates show up.
When you accept a petitioner into your service, they join your Round Table roster with a set of starting stats, personality traits, and armor integrity. That armor score matters more than most new players realize, because a knight who takes a critical hit with broken armor dies permanently — no revival, no second chances, no time rewind rescue.
The recruitment pipeline follows a consistent pattern: Beyond the standard recruitment pipeline, Sovereign Tower hides special knight unlocks behind story events, achievement milestones, and faction-specific progression. This guide breaks down the entire recruitment pipeline — from preparing your court to locking in loyalty — so you stop losing good people to preventable mistakes.
-
Petitioner arrival — New characters appear during audience segments, often tied to faction events or annex construction
-
Evaluation window — You decide whether to accept, reject, or negotiate based on what they're asking for
-
Onboarding phase — Accepted knights need equipment, quest assignments, and attention to their ego and satisfaction meters
-
Retention loop — Knights who feel ignored or overworked will eventually leave, taking their stats and story potential with them
The Intendant's intel plays a crucial role here, because their secret information can reveal hidden traits or special requirements for certain petitioners. Community reports suggest that checking intel before accepting a stranger can prevent nasty surprises later, like recruiting a knight who secretly despises the Scholar faction or refuses to work with specific companions.
What makes sovereign tower knight recruitment genuinely interesting is that your faction alignment shapes your candidate pool. A tower heavily invested in the Mystic faction attracts different petitioners than one focused on Merchants, which means your recruitment strategy should always account for what your court already supports.
Preparing Your Court Before the First Recruit Arrives
Jumping straight into recruitment without preparation leads to wasted opportunities and dead knights. The players who build strong rosters treat recruitment like a two-phase process: court preparation first, then active recruitment. Skipping the first phase means you'll accept a brilliant knight, only to watch them leave three weeks later because you can't keep them equipped or satisfied.
The Infrastructure Checklist
Before you start accepting petitioners, verify that your tower can actually support additional knights. Each recruit adds ongoing demands for equipment, quest assignments, and emotional maintenance, so an unprepared court becomes a death sentence for your new allies. New knights start with their baseline equipment and stats, but they need three things to reach full effectiveness:
| Infrastructure | Minimum Requirement | Why It Matters |
|---|---|---|
| Blacksmith level | Level 2 | Repairs armor and crafts gear for new recruits |
| Gold reserves | 500+ | Covers initial equipment and upkeep costs |
| Annex space | 1 open slot | Allows construction of knight-specific facilities |
| Faction standing | Neutral or better | Prevents faction-based recruitment blocks |
| Intendant presence | Active | Provides intel on recruit backgrounds and traits |
The blacksmith requirement often surprises new players, because they assume quest rewards will cover equipment needs. In practice, the blacksmith's repair services become your most-used facility once you have five or more knights actively running quests — armor damage accumulates fast, and sending a knight out with cracked armor is how permanent deaths happen.
Faction Standing as a Recruitment Filter
Your standing with the Nobility, People, Merchants, and Scholars directly influences which petitioners appear and how they react to your offers. A knight from the Scholar faction, for example, will be much easier to recruit if your Scholar reputation sits at Friendly or higher, while a Merchant-aligned petitioner might refuse to join a court that's openly hostile to trade interests.
The practical takeaway? Decide your faction priorities before recruiting, not after. If you're building toward a Scholar-heavy strategy, invest in research buildings and Scholar court positions first, then recruit knights who align with that vision. This creates a compounding effect where your faction standing attracts better candidates, who then generate more faction reputation through their quest successes.
Community data from the Steam discussions suggests that special knights like Chester the Jester are community favorites precisely because they arrive with unique personalities and quest outcomes that generic recruits can't match. These special characters often have specific appearance conditions tied to story events or achievement progress, so keeping your court well-rounded increases your chances of triggering their arrival.
Recruiting via Audience Events: A Practical Sequence
The actual recruitment moment happens during audience segments, when petitioners present their cases. Each interaction follows a structure that rewards careful reading and strategic response selection. Players who rush through these scenes miss critical cues about a petitioner's true nature and requirements.
Reading the Petitioner's Request
Every petitioner arrives with a specific need — some want gold, others want a position, and a few just want to join your cause. The request type tells you what they value, which informs how you should respond and what they'll expect after joining.
| Request Type | Typical Response | Post-Recruitment Expectation |
|---|---|---|
| Gold payment | Pay their asking price | May demand regular salary increases |
| Court position | Offer a council seat | Expects influence in decision-making |
| Quest participation | Promise quest assignments | Wants active deployment opportunities |
| Faction support | Pledge alignment | Requires ongoing faction investment |
| Direct service | Accept their oath | Needs equipment and training attention |
The negotiation phase matters more than most players think. Accepting every request at face value drains your treasury and creates knights with inflated expectations. Counter-offering — like offering a smaller gold payment plus a quest assignment — can secure the same recruit at a fraction of the cost, provided your court reputation can support the negotiation.
Using Intendant Intel During Recruitment
The Intendant's secret information system gives you an edge during recruitment by revealing hidden details about petitioners. This might include their true faction loyalties, secret personality traits, or even warnings about future betrayal risks. Players who ignore this intel are essentially recruiting blind, which works fine for generic knights but becomes dangerous when special characters are involved.
The intel system has a refresh cycle tied to your court operations, so check it regularly before major audience segments. Community testing suggests that intel becomes more detailed as you upgrade your Intendant's office, making this annex a worthwhile investment for any recruitment-focused strategy.
Accepting a knight with hidden negative traits can poison your entire court dynamic. Reports from the Steam community describe knights who secretly sabotage quests, spread discontent among other recruits, or defect to rival factions during crisis moments. The intel system exists specifically to help you avoid these disasters, so use it.
The Acceptance Ceremony and Onboarding
Once you accept a petitioner, the onboarding phase begins immediately. New knights start with their baseline equipment and stats, but they need three things to reach full effectiveness: When you accept a petitioner into your service, they join your Round Table roster with a set of starting stats, personality traits, and armor integrity.
-
Proper equipment — Visit the blacksmith to craft or purchase gear matching their role
-
Initial quest assignment — Deploy them on a low-risk quest to build experience and confidence
-
Relationship building — Spend time in dialogue or court interactions to raise their loyalty
The first week after recruitment is the highest-risk period for knight departures, because new recruits haven't built enough loyalty to tolerate mistakes. Prioritize their needs during this window, even if it means delaying other court business. The players who build strong rosters treat recruitment like a two-phase process: court preparation first, then active recruitment.
How The Intendant's Intel Feeds Special Knight Unlocks
Beyond the standard recruitment pipeline, Sovereign Tower hides special knight unlocks behind story events, achievement milestones, and faction-specific progression. These characters come with unique personalities, powerful stats, and often their own quest chains that generic recruits can't access. What makes sovereign tower knight recruitment genuinely interesting is that your faction alignment shapes your candidate pool.
Known Special Knight Trigger Patterns
| Special Knight | Known Trigger | Community Notes |
|---|---|---|
| Chester the Jester | Story event during early game | Community favorite with unique dialogue |
| The Goth Knight | Mystic faction progression | Strong synergy with potion systems |
| The Wolf Knight | Achievement milestone | High combat stats, complex personality |
| The Childlike Giant | Specific quest chain | Unique dialogue and quest outcomes |
Chester the Jester has become a community favorite according to Steam discussion threads, partly because his recruitment event is both entertaining and mechanically rewarding. Players report that his presence in the court generates unique dialogue options and can defuse tense faction situations that would normally require gold or influence spending.
Missed Opportunities and Replay Value
Special knight triggers often depend on choices made earlier in your playthrough, which means you can lock yourself out of recruits without realizing it. The Demon's Omniscience time rewind system exists partially for this reason — it lets you revisit decisions and explore alternative recruitment paths.
If you're aiming for a complete roster, track which special knights you've unlocked and which story branches you haven't explored. The achievement system tracks this progression, and our knight guide covers the broader roster-building strategy in more detail. Players who want to understand which knights perform best in specific roles should check the knight tier list for a full ranking breakdown, while those focused on deployment efficiency will find the best knight for quest article useful for matching recruits to mission types.
Retention Strategies That Stop Knights From Leaving
Recruiting knights is only half the battle — keeping them satisfied requires ongoing attention to their ego, loyalty, and equipment status. Knights who feel undervalued will eventually leave, and losing a high-level recruit to neglect is one of the most frustrating experiences in the game.
The Satisfaction Formula
Every knight tracks several satisfaction factors that determine their likelihood of staying. Community testing has identified the core components that keep knights happy: The achievement system tracks this progression, and our knight guide covers the broader roster-building strategy in more detail. Even experienced players make recruitment errors that cost them valuable knights.
-
Quest success rate — Knights want to win; repeated failures erode confidence
-
Equipment quality — Outdated gear signals that you don't value their contribution
-
Court interaction — Regular dialogue and acknowledgment prevent feelings of isolation
-
Faction alignment — Knights from specific factions need their faction respected
-
Rest and recovery — Overworked knights burn out faster than well-rested ones
The ego system adds another layer, because some knights demand recognition for their achievements. Ignoring a knight who just completed a difficult quest can trigger dissatisfaction even if all their other needs are met. The solution is simple: acknowledge victories publicly during court sessions.
Equipment Maintenance as Retention
Armor repair isn't just about preventing death — it's also a retention factor. Knights who wear damaged armor feel undervalued, and the risk of permanent death makes them nervous. The blacksmith should see regular traffic from your entire roster, not just your frontline fighters.
| Knight State | Retention Impact | Recommended Action |
|---|---|---|
| Full armor, high loyalty | Stable | Continue normal quest assignments |
| Damaged armor, high loyalty | At risk | Repair immediately, acknowledge service |
| Full armor, low loyalty | At risk | Increase interaction, offer recognition |
| Damaged armor, low loyalty | Critical | Repair, boost satisfaction, consider reassignment |
Preventing permanent death is the ultimate retention strategy, because dead knights can't leave — but they also can't serve. The armor-death mechanic means every quest assignment carries risk, and sending a knight out with broken armor is essentially volunteering them for execution. Always check armor status before deployment, and pull knights from quests when their armor integrity drops below safe thresholds.
Building Long-Term Loyalty
Loyalty compounds over time through successful quests, positive court interactions, and faction alignment. Knights who reach high loyalty levels become resistant to poaching attempts from other factions and tolerate minor mistakes that would send a new recruit packing. The romance system offers another loyalty path for specific knights, though it requires careful dialogue choices and investment. Our romance guide covers this in depth, but the short version is that romantic relationships dramatically increase a knight's commitment to your court — at the cost of complicating other relationships.
Recruitment Mistakes That Drive Knights Away
Even experienced players make recruitment errors that cost them valuable knights. Understanding the most common failure patterns helps you avoid repeating them in your own playthrough. Jumping straight into recruitment without preparation leads to wasted opportunities and dead knights. The players who build strong rosters treat recruitment like a two-phase process: court preparation first, then active recruitment.
The Over-Recruitment Trap
- Accepting every petitioner who offers service sounds generous, but it creates a court that can't sustain its own population. Each knight needs equipment, attention, and quest opportunities — spread too thin, and your entire roster becomes dissatisfied simultaneously.
The better approach is selective recruitment: accept knights who fill specific gaps in your roster, and politely decline petitioners who duplicate existing roles. Quality over quantity applies directly to your Round Table. When you accept a petitioner into your service, they join your Round Table roster with a set of starting stats, personality traits, and armor integrity.
The Equipment Gap
Recruiting knights faster than your blacksmith can equip them creates a roster of underpowered warriors who can't complete quests successfully. Failed quests lead to dissatisfaction, which leads to departures, which wastes the gold you spent on recruitment in the first place.
- Upgrade your blacksmith before expanding your roster, not after. The infrastructure checklist earlier in this guide exists because skipping these steps creates cascading failures that are hard to recover from.
Ignoring Personality Conflicts
Knights have personality traits that affect their compatibility with other roster members. Pairing a knight who despises Mystic users with a Mystic-heavy court creates constant tension, even if both knights individually perform well. The achievement system tracks this progression, and our knight guide covers the broader roster-building strategy in more detail.
The Intendant's intel can reveal these conflicts before you commit to a recruit, but only if you actually check it. Players who skip this step discover conflicts after recruitment, when fixing the problem requires either dismissing a knight or restructuring your entire court composition.
The Time Rewind Safety Net
The Demon's Omniscience time rewind system provides a safety net for recruitment mistakes, but it shouldn't become a crutch. Rewinding to undo a bad recruitment wastes progress and prevents you from learning the system's nuances. Use time rewind strategically — to explore alternative recruitment paths or test different special knight triggers — rather than relying on it to fix preventable errors. The system works best as a planning tool, not an undo button.
Frequently Asked Questions
How do I unlock special knights in Sovereign Tower?
Special knights like Chester the Jester unlock through story events, achievement milestones, and faction-specific progression paths. The Demon's Omniscience time rewind lets you revisit decisions to explore alternative recruitment triggers, so tracking which events you've completed helps you identify missing opportunities.
What happens if a knight's armor breaks during a quest?
A knight whose armor breaks during a quest faces permanent death if they take a critical hit afterward. This is why checking armor status before deployment matters so much — sending a knight out with damaged armor is one of the fastest ways to lose a valuable recruit permanently.
Can I recruit knights from all four factions?
Yes, but your faction standing affects which petitioners appear and how easily they accept your offers. Knights aligned with factions you've neglected will be harder to recruit, while factions you've invested in will send better candidates with lower acceptance requirements.
Why did my knight leave even though I completed quests successfully?
Knights track multiple satisfaction factors beyond quest success, including equipment quality, court interaction, and faction alignment. A knight who wins quests but wears outdated armor or feels ignored during court sessions will eventually leave, even with a strong win record.
Does the Intendant's intel really matter for recruitment?
The Intendant's secret information reveals hidden traits, faction loyalties, and potential conflict risks that aren't visible during the initial petition. Checking intel before accepting a recruit can prevent personality conflicts and betrayal situations that would otherwise poison your court dynamics.