
Knights
Compare Knight archetypes by six stats, hidden personality traits, loyalty and death risk — and build the roster that wins your reign.
Introduction
Knights are the heart of your court in Sovereign Tower. You recruit them to the Round Table and send them on quests, but they are not interchangeable tools — each Knight carries six stats (Strength, Agility, Charisma, Magic, Wit and Luck), hidden personality traits, loyalty meters, and even romantic potential. Some Knights arrive already famous, like Chester the Jester, while others are random recruits whose traits surprise you over time. The knights category exists to help you understand recruitment triggers, how stats interact with quest requirements, how hidden traits raise or lower success odds, and how to keep your beloved roster alive. Tier discussion here is a positioning framework based on community experience, not a definitive ranking — the game is too new for official tier lists, and patch changes could shuffle value. Use the stats and trait discussions to make your own informed calls.
Knight Archetypes & Six Stats
| Archetype | Key Stats | Best Quest Fit | Watch Out For |
|---|---|---|---|
| Charisma Specialist | Charisma, Luck | Court, diplomacy, public relations | Low Strength on combat tasks |
| Balanced All-Rounder | Even 2-3 stats | Multi-Knight and mixed quests | No standout specialty |
| Strength Fighter | Strength, Agility | Combat, physical labor | Hidden fear of crowds |
| Magic Scholar | Magic, Wit | Alchemy, exorcisms, research | Fragile armor pool |
| Ego / Trait-Risky | High stats, risky trait | Niche missions only | Hidden traits cause failures |
Knights Deep Dive
Charisma Specialists
The community's early sweet spot is the charisma-focused Knight, great for court, diplomacy and public-relations quests, with strong picks including Chester the Jester and other personality-driven recruits. Their hidden trait interactions often matter more than raw numbers, so this card maps how to recruit them, keep them loyal and deploy them on the ceremony-heavy missions where other archetypes stumble.
Balanced All-Rounders
Even stat spreads make safe picks for mixed and multi-Knight quests because they cover more hidden requirements than specialists, which matters when quest text hints at checks you cannot fully verify. The real cost is that they rarely excel, so pair a generalist with a specialist on dangerous missions, and keep one on reserve for unexpected quests with unknown stat demands.
Situational Specialists
Strength, Agility or Magic experts shine only when the quest matches their specialty exactly, so their greatest risk is the family of missions that tests their weak side. Combines well with prepared potions and a balanced partner, but never send a pure specialist blind into a quest whose hidden traits could trip them, and keep their armor full since combat-heavy roles take the most damage.
Ego / Trait-Risky
Knights who look powerful on paper but carry hidden traits can cause failures or court drama, so the community ranks them risky even when their stats are impressive. Manage them carefully: check the Intendant's intel, match their missions to strengths and personality, and bench them during crunch periods, because a trait-triggered failure can cost more than a slightly weaker but reliable recruit.
Combat & Magic Fighters
Strength Fighters clear combat and labor quests while Magic Scholars handle alchemy, exorcisms and research, giving you two specialists you rarely want to bench. Both archetypes need armor attention so they survive multi-Knight missions, and pairing them covers the highest-value quest types, from dangerous hunts to the arcane rites that feed faction, romance and achievement progress.
Core Mechanics
Every Knight is defined by six stats plus hidden personality traits. When you assign a Knight to a Round Table quest, the game compares their stats against the quest requirements, but not all required stats are revealed upfront — hidden requirements are part of the challenge. Personality traits can boost or sabotage outcomes; a fear of crowds, for example, could hurt a Knight in a public diplomacy quest despite great Charisma. Loyalty matters too: unhappy Knights may refuse assignments or leave the court entirely. Knights also have armor as a resource; if armor hits zero during a quest, the Knight dies permanently, and the only way to reverse that is the time rewind. Repairing armor, buying equipment, and matching personalities to quests are the core Knight management skills.
Advantages
A well-analyzed Knight roster transforms the game. Understanding the six stats and hidden traits lets you assign the right person to every quest, dramatically improving Critical Success rates and avoiding catastrophic failures that send good Knights to the grave. Community-reported picks like Chester the Jester and the charisma-focused archetype show that personality matters as much as raw numbers, and our coverage explains recruitment routes, loyalty management, and when a Knight is worth keeping despite awkward traits. Romance and relationship events also open up through Knights, so investing in the roster pays off in story depth as well as gameplay efficiency.
Challenges
No official tier list exists for Sovereign Tower at launch, so any S/A/B/C ranking in this category is a community-informed framework rather than a guaranteed order. Knight stats are randomly generated to a degree, and some recruitment triggers — especially special Knights like Chester the Jester — are not fully documented. The game's patch cadence could also change trait behavior or quest requirements. Readers should treat the tier guidance as directional, verify actual stats in their own Court screen, and expect that a Knight who looks mediocre on paper can still shine once you learn their hidden trait interactions. The honest takeaway is simple: use the tier framework as a starting point, and let a Knight's actual performance in your run be the final judge.
Frequently Asked Questions
How do I recruit more Knights?+
What are the six stats and which matter most?+
Can Knights die permanently?+
Why do Knights leave or refuse quests?+
Quick Tips
Read quest requirements before assigning a Knight, because matching at least one strong stat beats sending your highest overall score; a charisma specialist wins ceremonies, a strength Knight wins hunts, and the correct match is the main lever. If two Knights are close in stats, prefer the one whose personality traits fit the quest context, because hidden checks often decide between Critical Success and a costly Failure.
Keep one reliable all-rounder on reserve for unexpected multi-Knight quests with hidden requirements, since a balanced Knight covers more possible checks and gives you a safe default when quest text is ambiguous. Mark that reserve Knight in your mind: when a multi-Knight quest arrives with vague requirements, having a safe balanced pick ready avoids panic assignments that cost lives.
Repair armor after every quest and never send a Knight with low armor into combat-heavy missions, because armor loss to zero is what kills; the forge is cheap insurance against the game's worst permanent outcome. Trace your roster's armor levels each morning, because a Knight who looked fine yesterday can be one quest away from death, and the Forge is far cheaper than a goodbye.
Let the Intendant uncover secrets before you recruit, because hidden traits are often exposed through intel and gossip, saving you from nasty surprises; a knight who looks perfect on paper can still hide a game-breaking personality flaw. Pair the Intendant's intel with a short history of how each Knight behaved on past quests; experience is the best predictor of hidden traits and the safest recruitment guide.
Featured
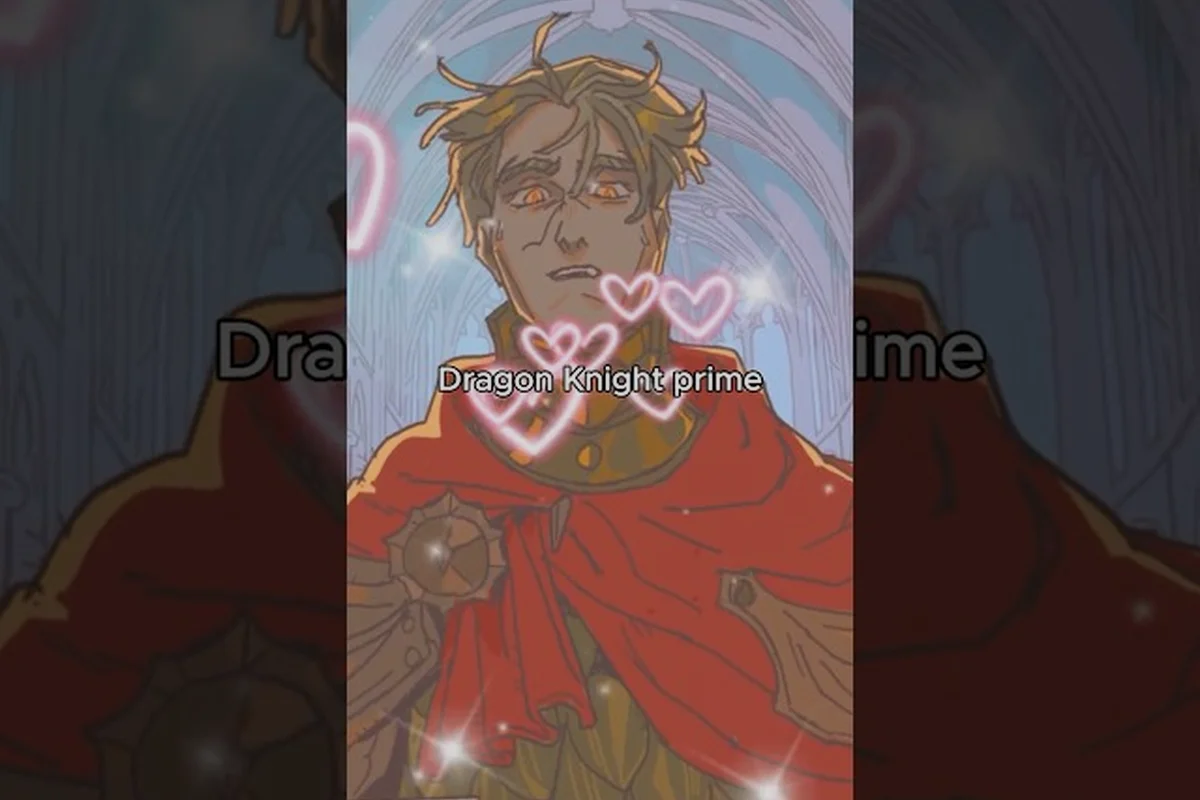
Sovereign Tower Best Knights Tier List: Role Power Picks
Rank the best knights in Sovereign Tower with our tier list. Compare S-tier picks, stat priorities, and quest roles to build an unstoppable Round Table.
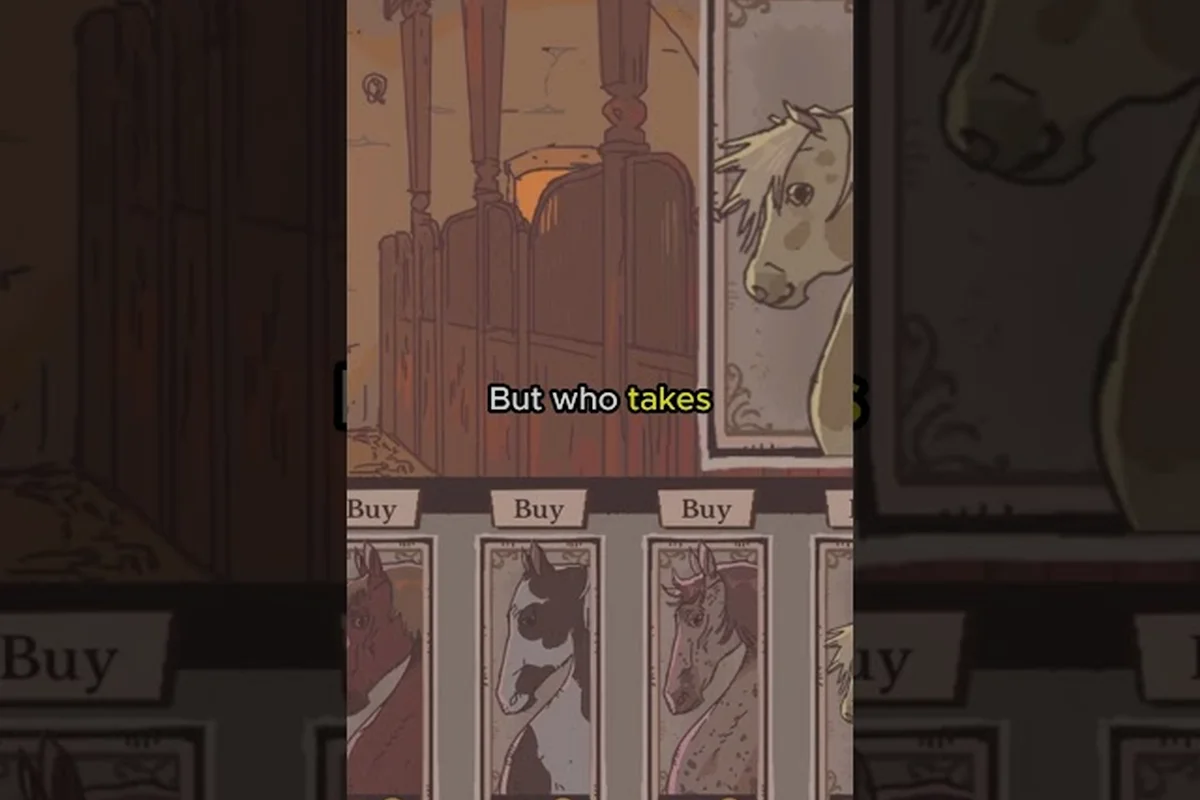
Sovereign Tower How to Recruit Knights: Full Guide
Learn how to recruit knights in Sovereign Tower through court audiences, story events, and Intendant secrets. Step-by-step methods for building your Round Table.
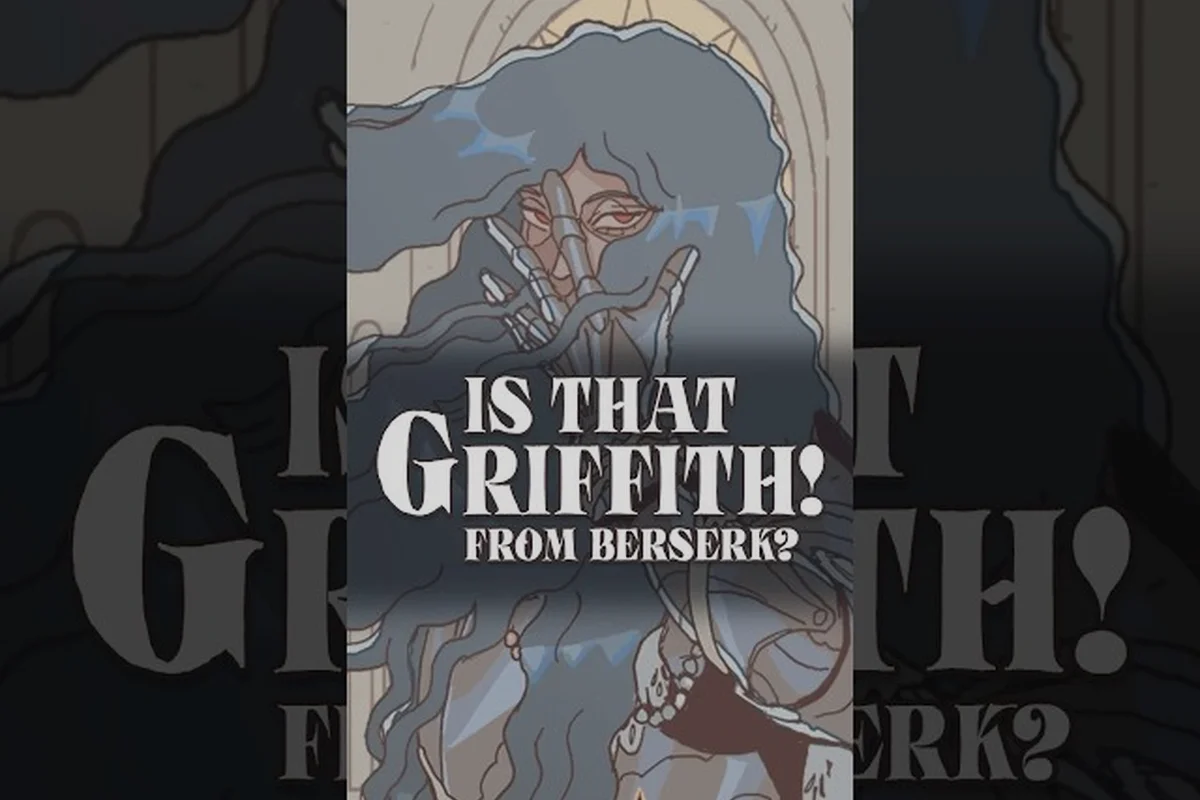
Sovereign Tower Knight Guide: 6 Stats, Loyalty & Permadeath
Master the Sovereign Tower knight guide: learn all six stats, hidden traits, loyalty mechanics, armor-permadeath risk, and quest-matching strategies to keep your knights alive.
All Articles

Sovereign Tower Knight Tier List: Strongest Units Compared
Discover the best knights in Sovereign Tower with our comprehensive tier list. We rank every knight archetype by stats, loyalty, and quest performance.
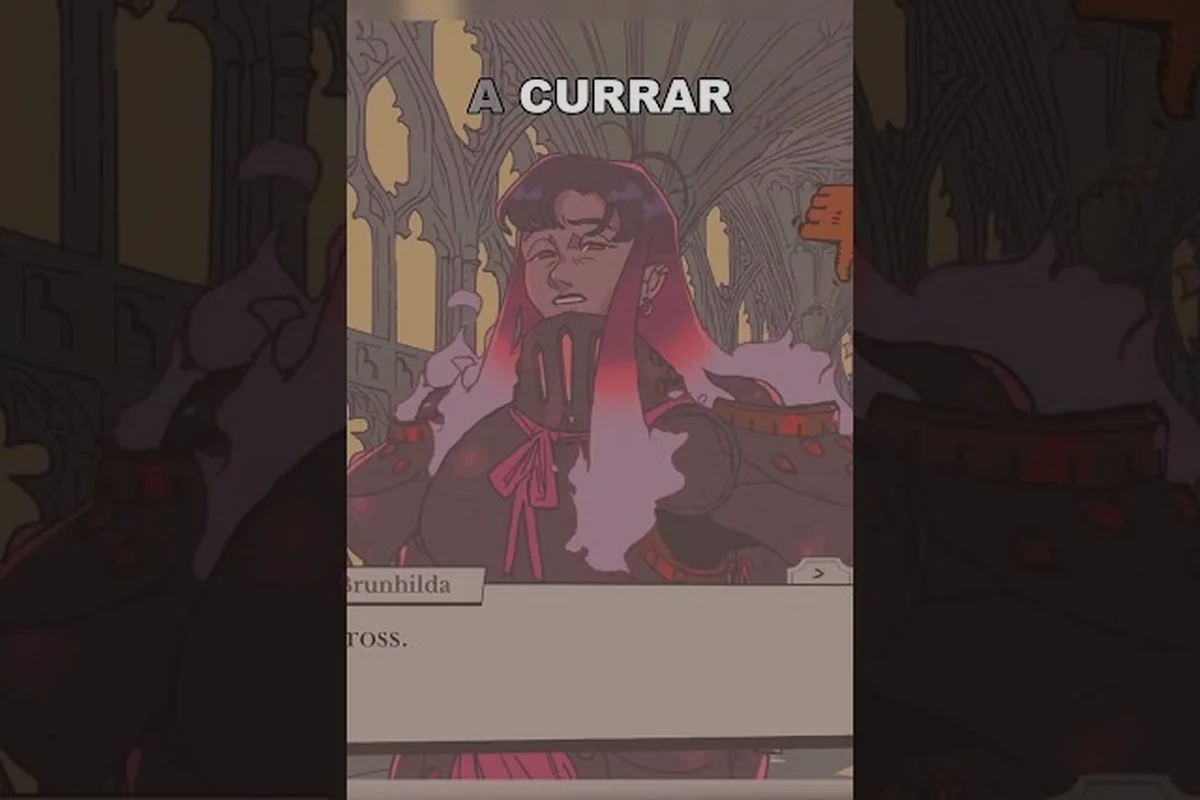
Sovereign Tower Knights Explained: Stats, Traits, and More
Learn how Sovereign Tower knights explained systems work: six stats, hidden personality traits, loyalty mechanics, armor score, and quest assignment strategy.
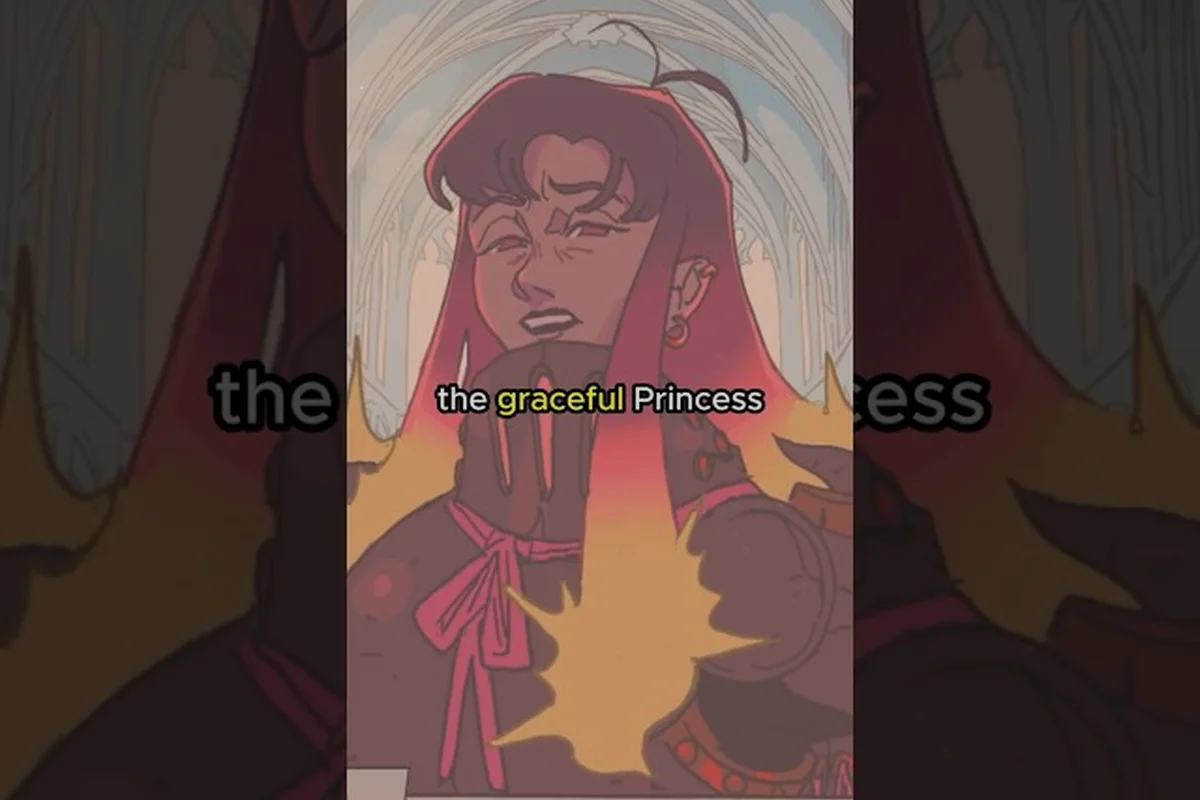
Sovereign Tower Best Knights: Priority Recruits First
Discover the sovereign tower best knights to recruit early, their stats, ideal quest roles, and how to build a roster that survives permadeath.
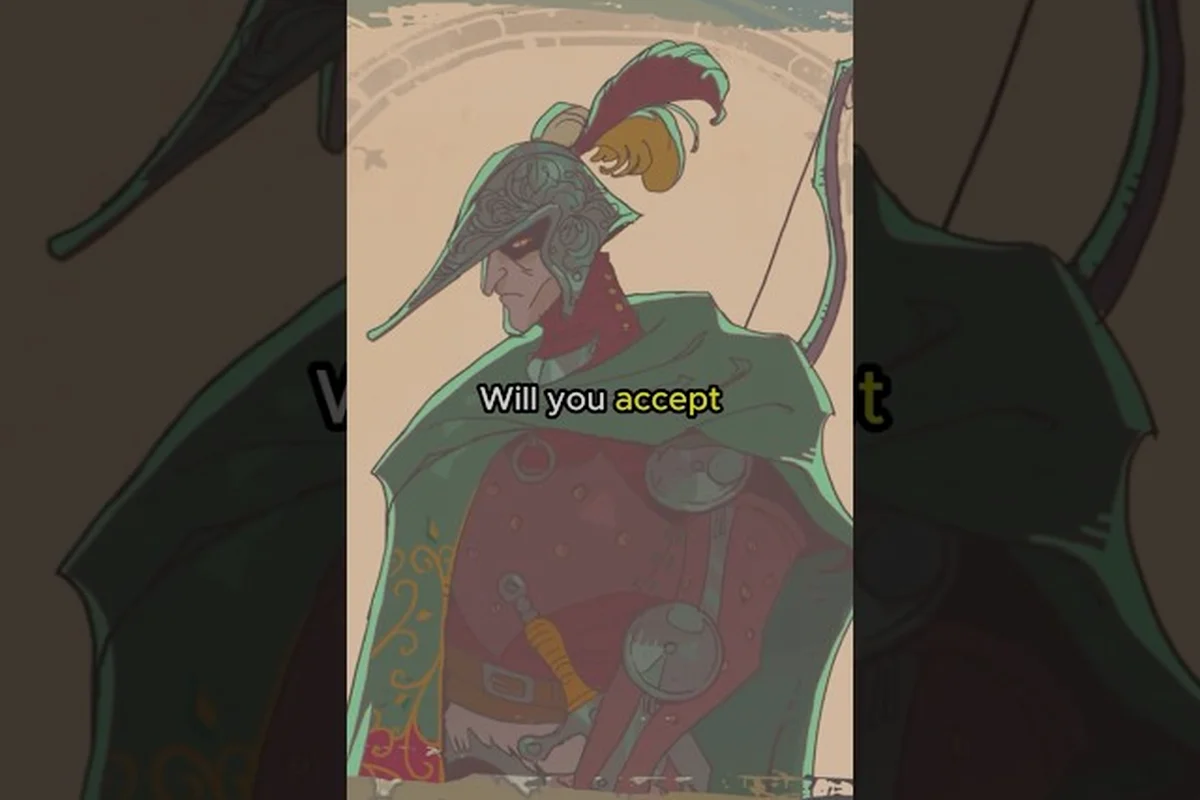
Sovereign Tower All Knights: Recruits Ranked and More
Discover the complete Sovereign Tower all knights roster — every recruit, archetype strengths, hidden synergies, and how to build your ideal Round Table.
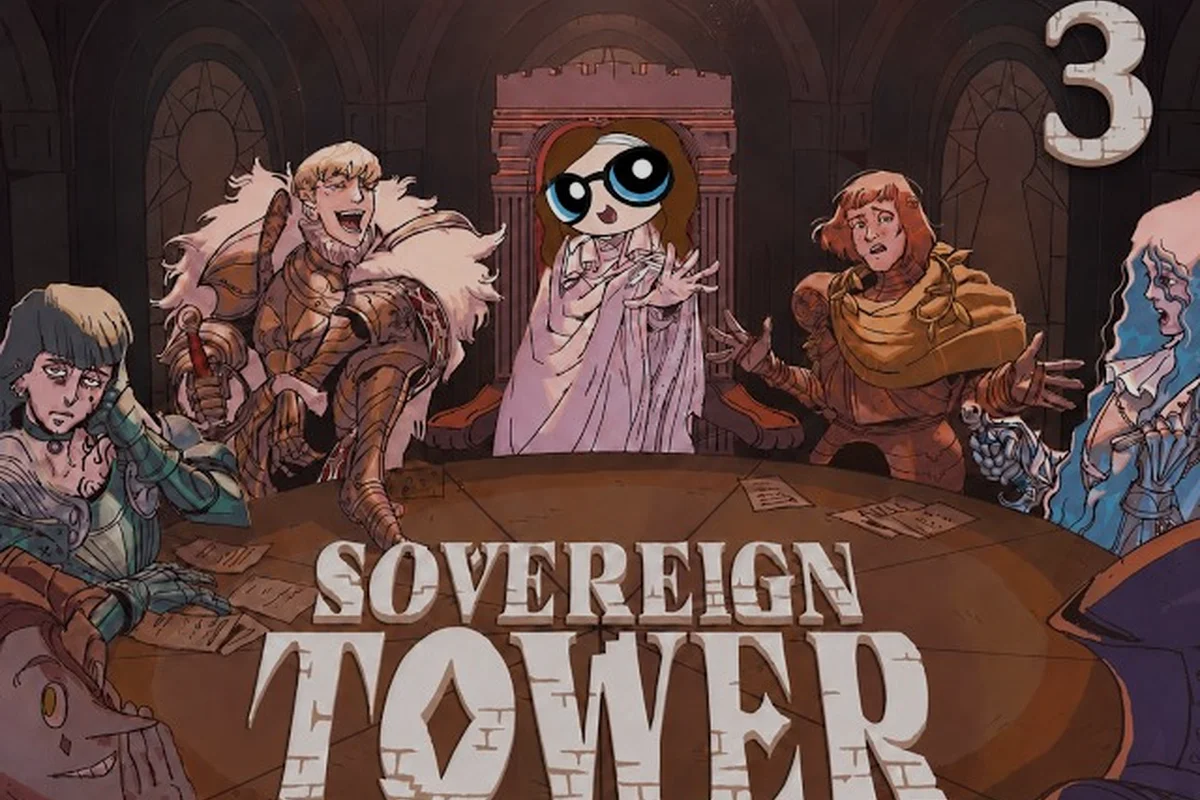
Sovereign Tower Knight Recruitment: Attract and Keep
Master Sovereign Tower knight recruitment with proven strategies, audience prep tips, and hidden special knight triggers that transform your court.